I got this idea about building my own cold air induction. Most of the air for cooling comes up through the airdam which is a large opening between the lower front spoiler and the chin of the front bumper, and there is also a couple of vents next to each front parking lamp in the front. The air that doesn't go through the radiator, travels above in between the top of the radiator support and the inside of the hood. So i decided to make an insulated air chamber on the inside of the hood and provide a direct sealed path for the air coming up the air dam, over the rad. support, through the air chamber, and into the air cleaner/ carburetor. Here's how I did it.
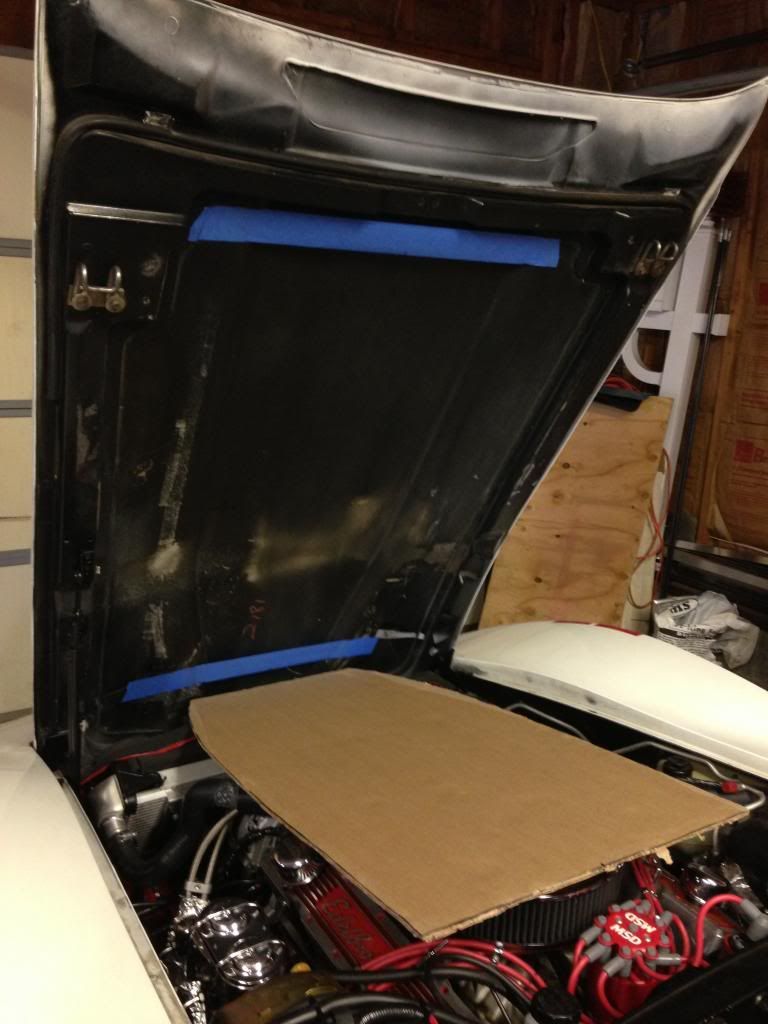
I marked off my stock 80' hood and made a cardboard template.
Next I used the template to cut out the piece I need out of a fiberglass panel. The panel is a roof wind deflector from a tractor trail, new/ unused that work was throwing out, so it didn't cost me anything.
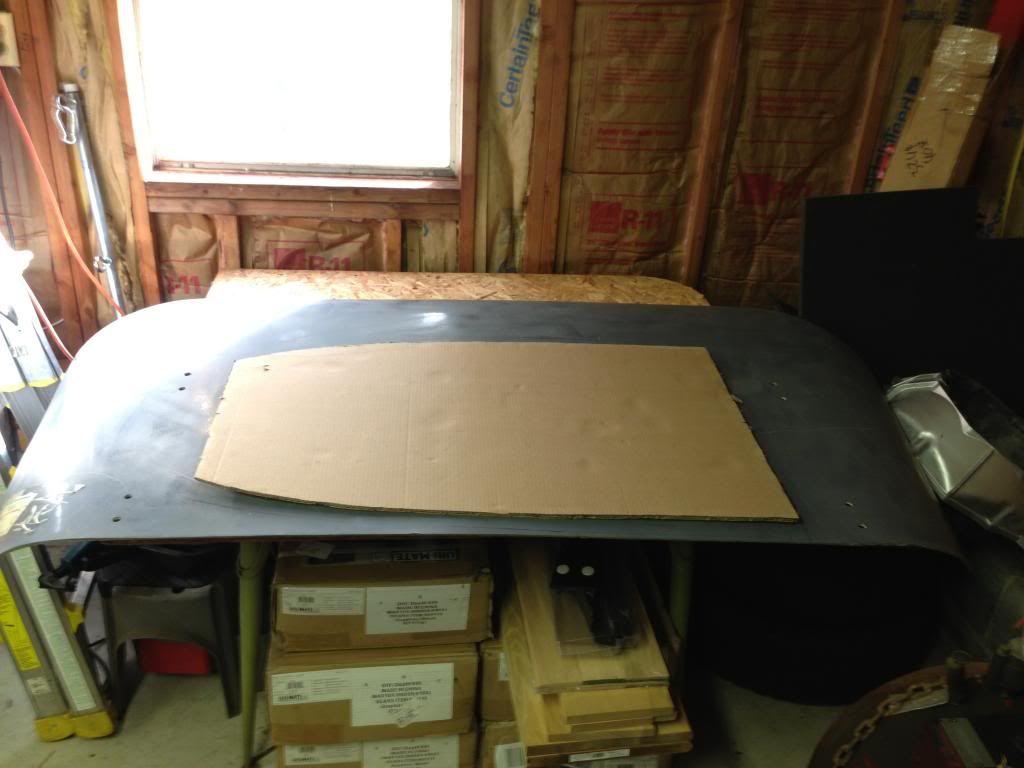
I removed the hood and prepped it for attaching the fiberglass panel.

I used Norton's Speedgrip Adhesive to attach the panel to the hood. I already had the applicator gun, so the adhesive was about $35.

I now have the air chamber done. The front will seal against the radiator support when closed.


Next I modified my air cleaner base to create a pan that will seal my existing air cleaner assembly to the new cold air chamber.
This was my existing air cleaner assembly. The plan is to seal around it so it can still draw air in from the sides and also the XStream Air Flow Top.
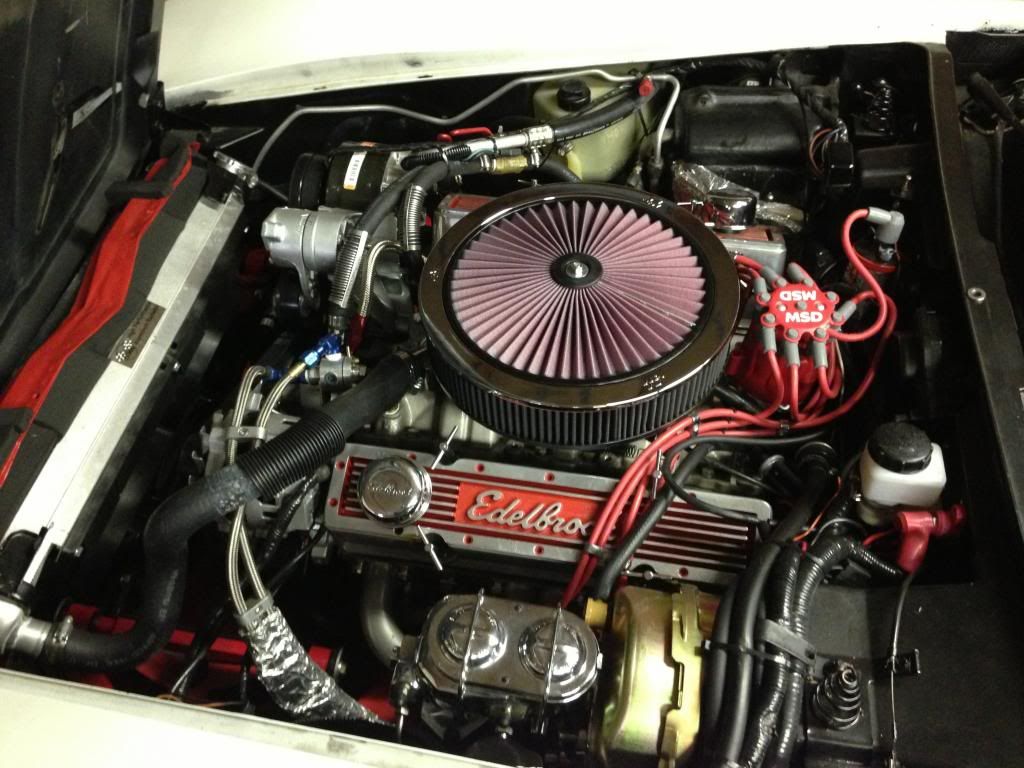
I ran into some clearance issues with the hood and had to take a hole saw and drill a couple areas to clear the ac line from the compressor, and serpentine tensioner. Also the upper rad hose hits, but I don't think its too bad since I have it rapped with a plastic shielding.

Here's some pics of the air cleaner that I came up with to seal to the hood.

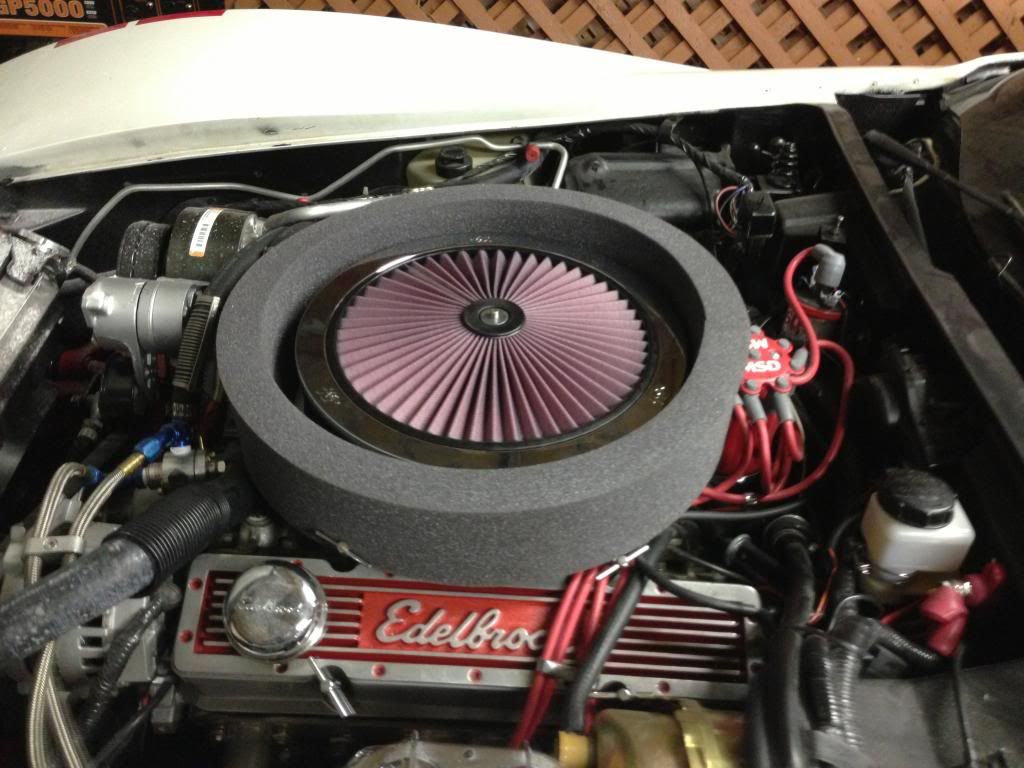

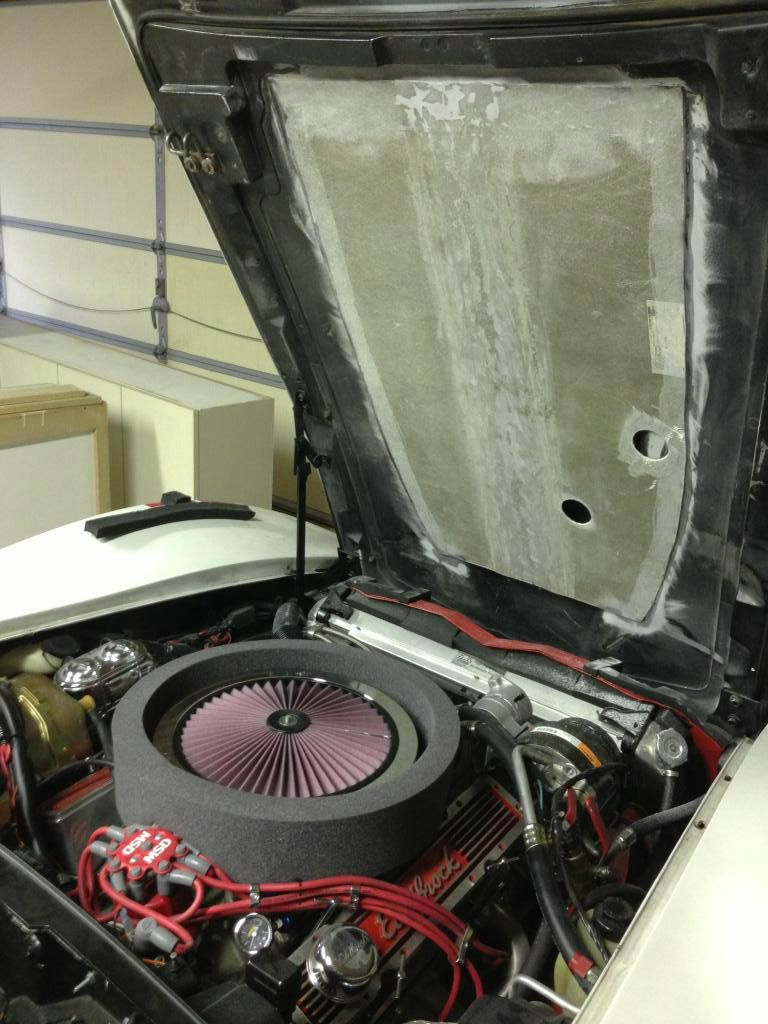
There is a 16 gauge aluminum "cake pan" 16" x 3" deep, that is cut in the center and the air cleaner base is attached/ sealed to. The sides of the pan are cut/ tapered front to back for hood clearance as that is the way the hood is angled when closed. The foam is Moroso flame resistant hood seal foam designed to seal the air cleaner to the hood and is 1.5" x 4". The foam seal is cut and fit over the side walls of the pan except for the top that seals against the hood. Cost was $20 for the cake pan and $20 for the Moroso foam seal. I used my existing base plate and K&N air filter, so $40 total.


Cut the opening for the air cleaner.

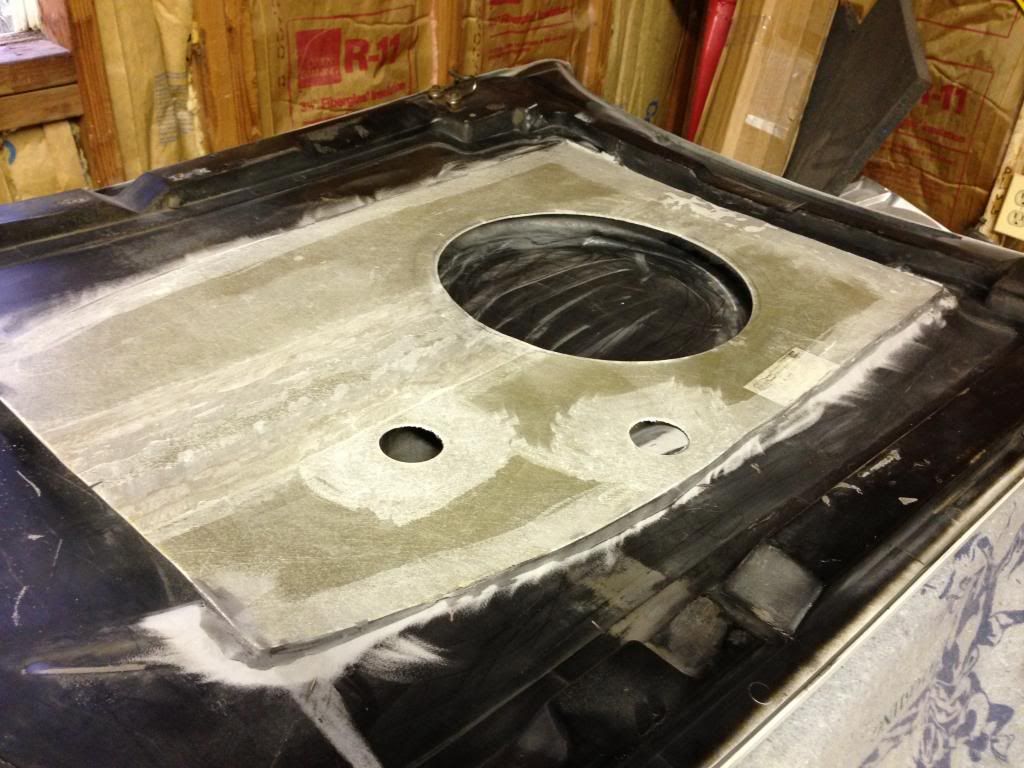
Here's a picture of the opening. I placed a pen in the opening to try to give a reference of the opening size, which I think should be large enough for good airflow.
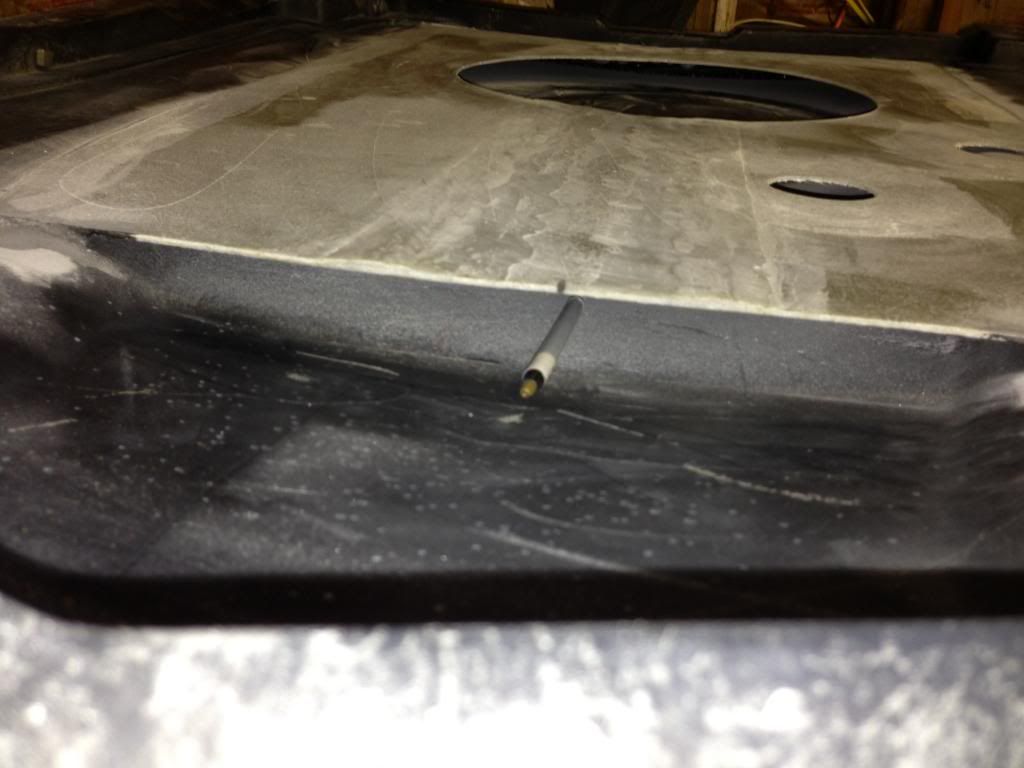
I did 3 layers of glass mat to seal the clearance holes, a little sanding, satin black paint, and put the hood back on.

Here's a few picks of the hood.

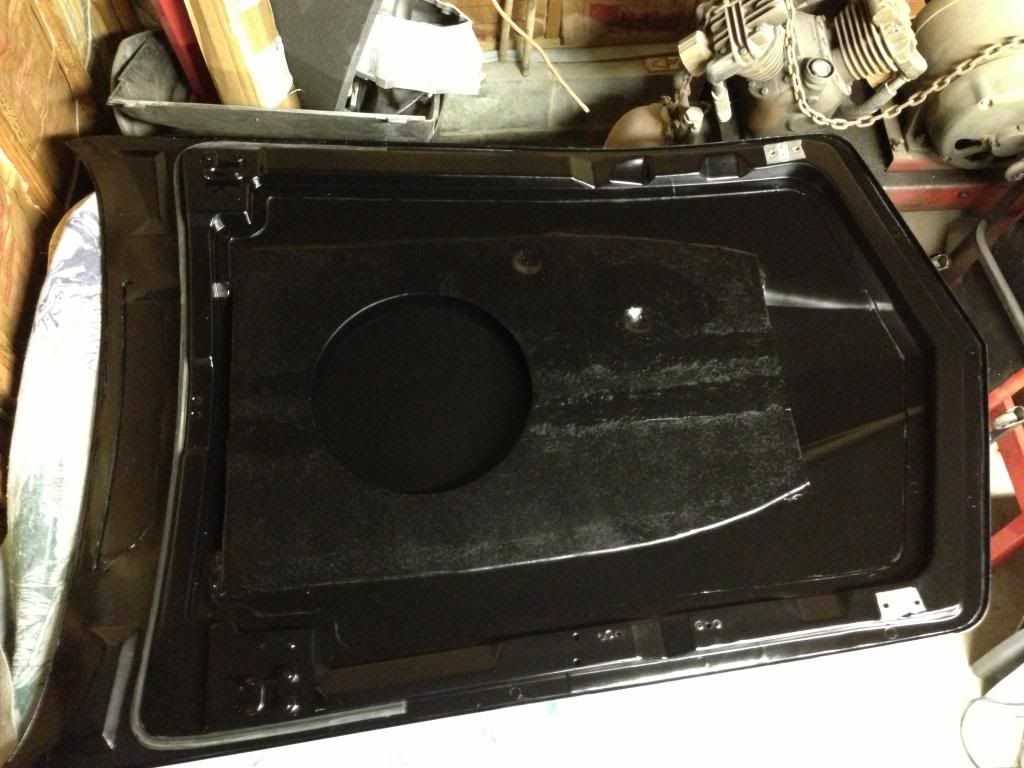

Got it together and went out for a quick test drive. It sure didn't feel like it was choking for air. I pulled out of a side street easy up to about 20-25 then nailed the throttle and the vette broke the tires loose, kicked out a bit and then took off like a bat out of hell up to 85-90 then I let off.


I added some thermal insulation under the hood to help keep engine heat out of the air chamber.


I bought thermometers to get some results with video.

Here's a picture of the temperature sensors for the engine bay and inside the air chamber near the filter top.

Here's a picture of the thermometers just above my Autometer digital speedometer/ tachometer combo. The thermometer on the left measures engine bay temp and the one on the right measures the air temp going into the air cleaner.
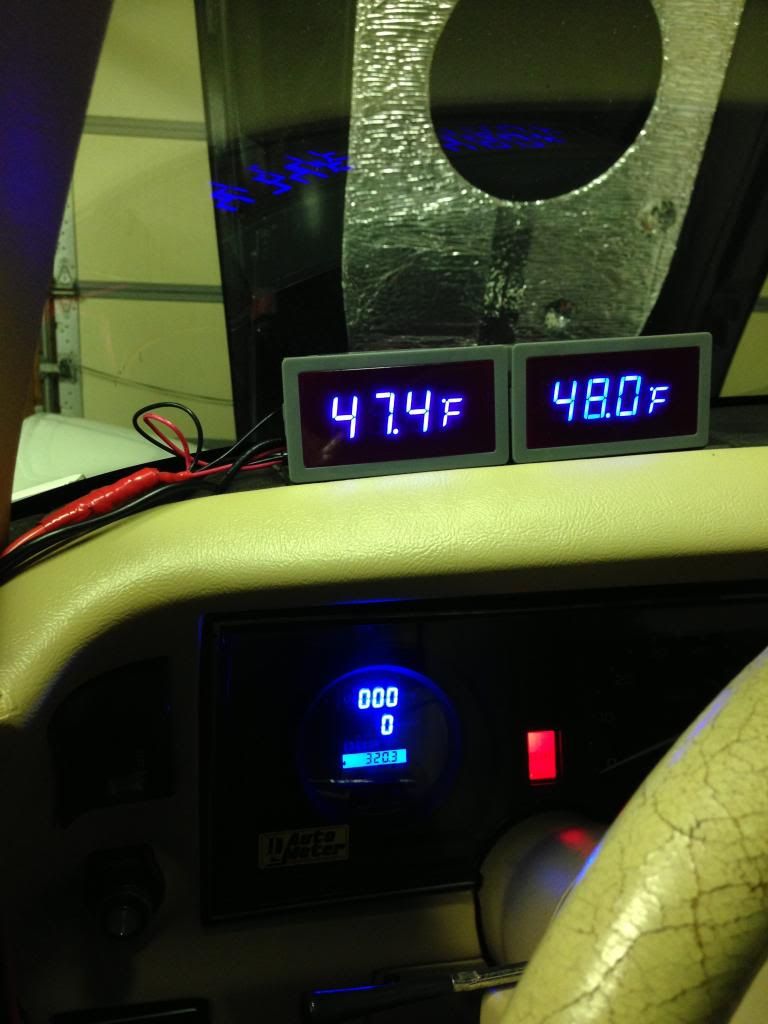
I took the vette out for a cruise and got some video with my GoPro. It's a little long but you can see the air coming into the engine stays very cool! The outside air temp was mid to upper 50's during the cruise. The temp display on the left is for the engine bay, and the temp display on the right is for the air going into the air cleaner. When I started the video, I had already driven it a couple miles, parked it for about 10 minutes and the temperature in the air chamber only went up about 10 degrees to 66 degrees, while the engine bay temp rose to 144 degrees. The whole time it stayed 55-57 degrees coming into the air cleaner.
http://youtu.be/MeoMFocEvm8One thing I noticed in my video was every time I got on the throttle, the temperature in the engine bay increased and the temperature in the cold air intake decreased immediately. So, before my mod, whenever I got on it my engine would take in increasingly hotter air into the intake.
Since completing this modification, I added an aluminum 1" spacer between the carb and intake to increase the velocity of the air fuel mix, trim the pan a little, and still need to add a new seal to it. I'll take care of it before the warm weather.