My Modded C3 Corvette

BlackJac

New member
Here's the start of a build thread on my 1980 vette that I thought I'd share with you guys while I work towards modding my new 2015 XSport. I bought my vette back in 2001, put it on jack stands in 2002, and spend years acquiring upgraded parts and taking everything out except the back window, and rebuild it from the ground up the way I thought it should be. I finally got her back on the road again in 2010. It all started with a brake job, and while I'm at it... til' it was all apart. lol

Here's a couple photos from the beginning.


While the frame was out, I had to repair the body mount brackets.


I also went over all the welds, added gussets and boxed the front of the frame for extra strength. Then, I had the frame acid dipped, zinc phosphate washed, and powdercoated red.


Next, I started building the rolling chassis with Vette Brake Products "Top-of-the-line" Performance Plus suspension kit powdercoated red with front and rear fully adjustable dual mount monoleaf setup, offset trailing arms, full poly bushings, stainless steel brake lines, Bilstein Sport shocks, solid Spicer u-joints with machined u-joint caps, o-ring seal/stainless steel sleeved 4-piston calipers all around, rebuilt 3.70 Dana 44 rear, to name a few parts.


Thanks for looking. More to come.
Mike
 
Thanks Guys! Here's some more.

My brother built a 350 bored .40 over and stroked to 385 ci with World Products heads for his 80' Z28, but he had a change of plans and sold me the engine with about 500 miles on it. So, in it went.

I originally was going with a Tuned Port Injection setup I had, but found out it wouldn't feed this engine enough fuel (Anybody looking for a TPI setup? lol), so ended switching to an Edelbrock intake and BG Speed Demon 750 carb. I also converted it to a serpentine belt setup used from an 89' Firebird. I used the original super T10 4 speed with a new clutch setup and Hurst shifter.

Serpentine setup bought off eBay for $100.


TPI setup sitting on the engine. Added March pulleys and new accessories.


Switched to the intake and carb.
 
The fiberglass corvette body is attached to a steel structure around the passenger compartment which is called the "birdcage". 4 of the body mounts that needed repairs due to rust on the frame attach to the rocker area of the birdcage on the A and B pillar locations, which were rusted on the birdcage also. So i bought 3 piece rocker channel inserts for both sides and cut out the bottom or the rocker channels in both A and B pillars, pushed the inserts up into them and installed the lower center rocker channel piece. I welded everything in place so now the lower half of the birdcage has double the steel and is more rigid. I also cleaned all the steel up on the bridcage and painted it with POR15.

A few pics before welding in all the pieces.

A pillar


B pillar


Lower rocker channel
 
keep them pics coming, great build hope you plan to keep her, from the guys at auctions that i attend that i talk to very few people get out all the $$ they put in a project like this much less any pay for the time. it just a labor of love.
 
Thanks for the nice comments!

The vette is not going anywhere. lol I have it sitting on my KwikLift in the garage. I know I dumped a ton of money and labor into it, but consider it more of a hobby, not an investment. It will probably end up going to my daughter who is only 3 years old now, but loves going for rides in it. Who knows, might even be worth a lot of money by then.

So to continue some more, I cleaned up the engine bay, underbody, repaired some cracks in the fibergalss body from underneath, and painted with satin black.


I also thermal insulated the full interior using a very lightweight material, and double layers for the floorpan.


I upgraded the main wire harness from the battery to the engine bay with a heavier gauge.


Made new fuel lines, stainless steel clips for the fuel and brake lines, new Van Steel haft shafts for the rear, and new fuel tank.


Since I originally was going with fuel injection, I had installed an electric fuel pump with pre and post fuel filters.


Next, installed the body back onto the frame. Here I was test fitting the new C6 Z06 style 17" x 9.5" wheels to figure out that I needed 2.5" wheel adapters to fit them in without clearance issues. The wheels are powdercoated black with red banding and the tires are Nitto NT555 Extreme 275/40 ZR17 all around. Now it's starting to look like a car again!


Also installed Headman 1 5/8" headers with stock style 69' Corvette sidepipes. I put the original doeskin color interior back in after a re-dye, and changed to a 2-tone theme using new black carpeting (I still need to do the door panels and seats). Here the wheels are installed after receiving the wheel adapters.


Great build. Looks like that could've been real fun.

Is that Mustang I saw parked in the video up on the hoist yet? ;)

Rich

 
It's my wife's 68' Mustang coupe 302 auto. She got it from her father in 1986 and it was still her daily driver when I met her in 2000. It's been sitting since 2001 and needs a full restore.
 
Very cool, thanks for sharing!

I wish I could find time to do stuff like this.  As others know, I don't even have time to put on my Corsa exhaust that's been sitting in my garage since June. :(
 
No problem. Glad you guys enjoy this build!

Here are a couple pictures of when I finished getting my vette back on the road. I added a couple Grand Sport stripes in Laser Red to each side.


Next I moved on to upgrading the transmission. I did a ton of research to complete this conversion. I also created a trans swap thread on 3 popular corvette forums to share my work, and have over 40,000 views between them. I also received tons of comments and questions for information on taking on this conversion. There are a few different ways to go with the install, but this is the route I took with it.

Summer 2011 I picked up a T56 trans out of a 94' Trans Am that a guy was parting out. So I finally decided to go for the install and removed my old trans and clutch linkages and sold them. I kept my Centerforce dual friction clutch and Fidanza aluminum flywheel. I picked up a conversion kit from Weir Hot Rod Products to convert the trans from a pull type clutch to a push, so I can use my current clutch and flywheel. The kit comes with the following:

LT1 T56 Kit (converting the pull clutch to a more conventional push design)
356 T6 Cast Aluminum Heat Treated Bellhousing
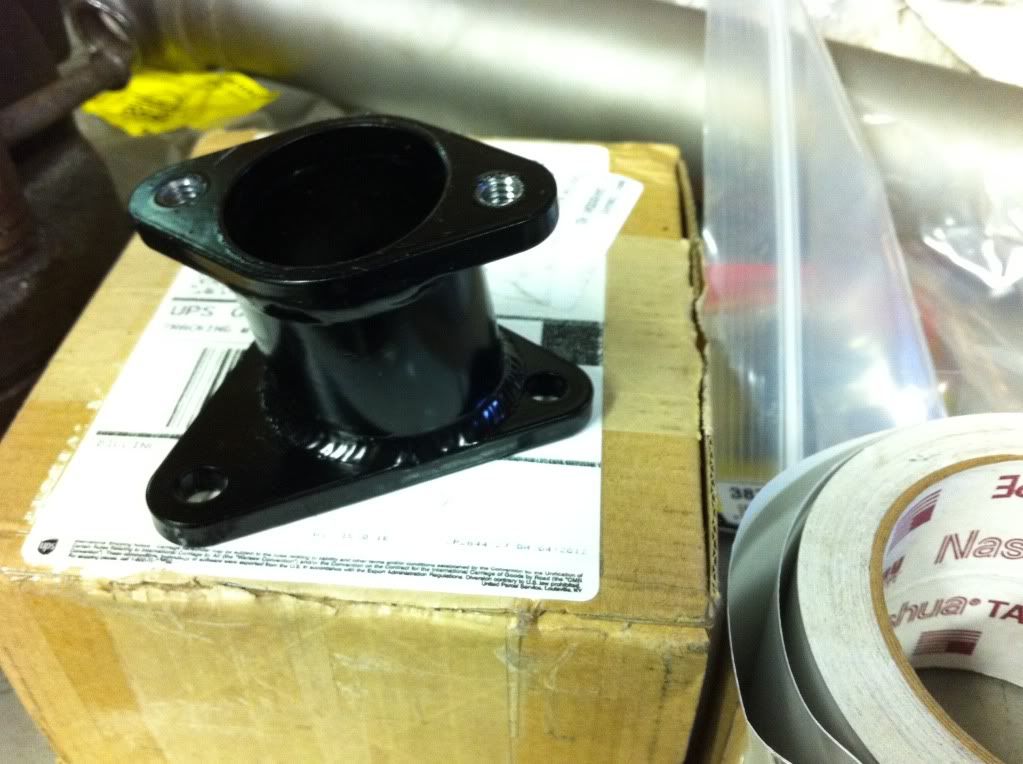
Self Adjusting Hydraulic Release Bearing Assemble (which is rebuildable)
Steel Block Plate
Pressure Tubing
All Necessary Bolts
Master Cylinder
Clutch Line

Weir1.jpg


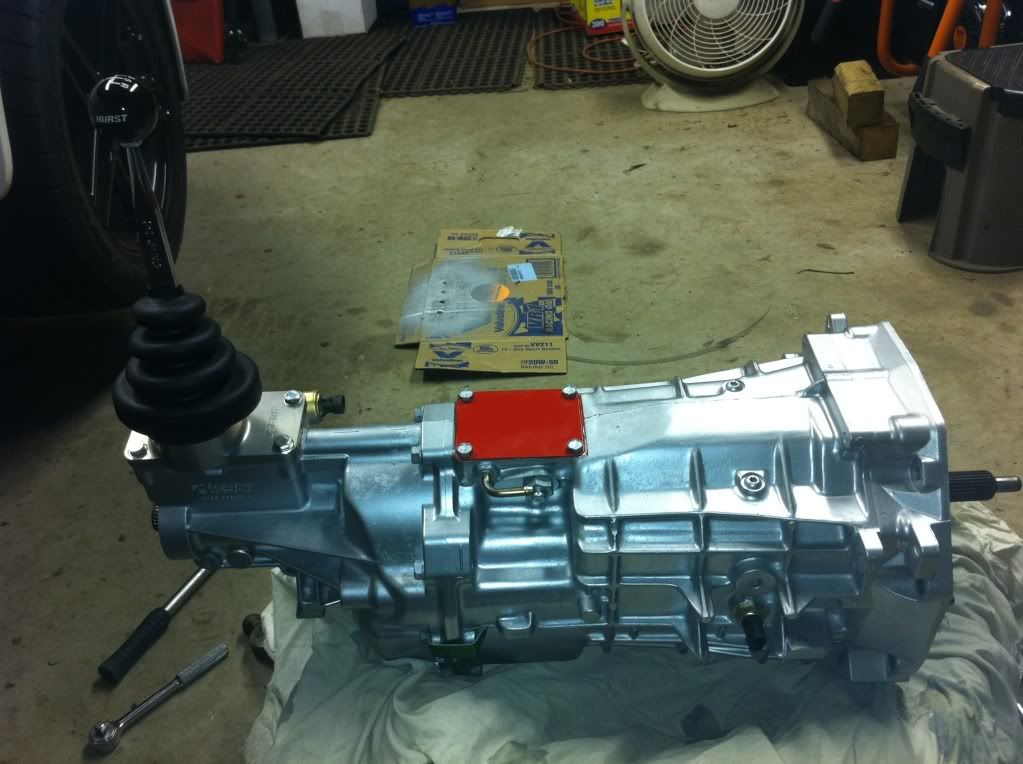
Cleaned up the trans and picked up a Hurst Billet Plus Shifter.
trans1.jpg


4aphoto.jpg


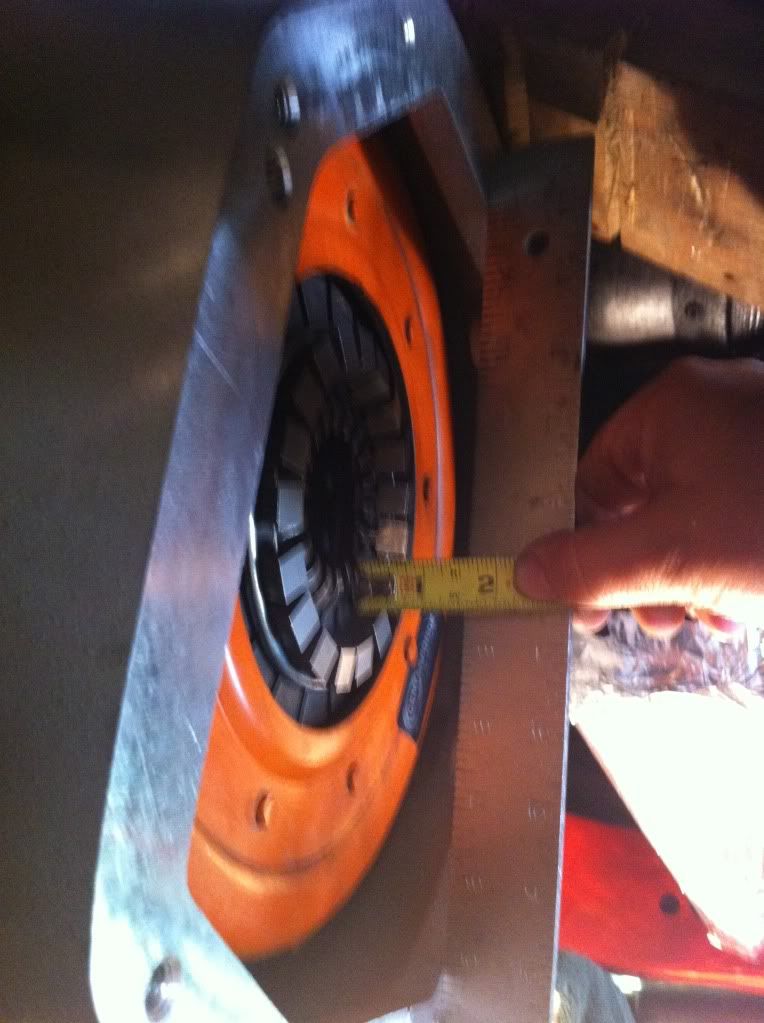
I checked to make sure the clearance for my hydraulic throw-out bearing was going to be within specs, 1/8" give or take a 1/32. I started out by bolting the block plate, flywheel, clutch disk, pressure plate, and bellhousing to the engine. I put a straight edge across the bellhousing to trans surface and used a tape measure to measure the distance from the clutch fingers to the straight edge which gave me 1 1/2".

4cphoto.jpg


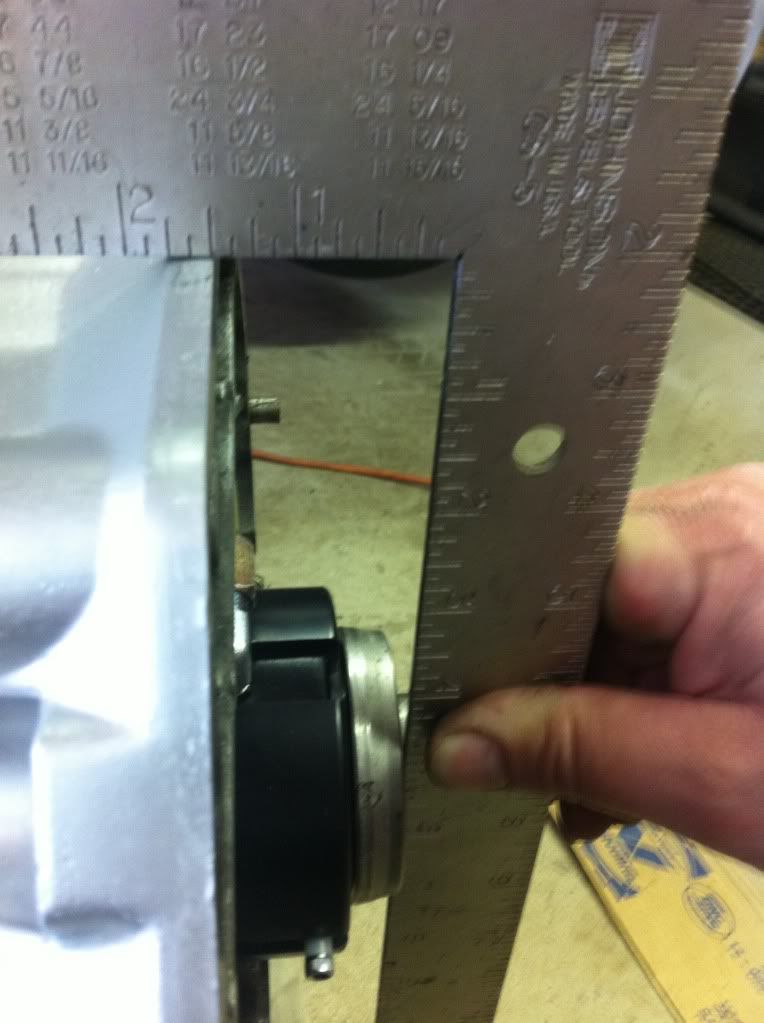
Then I installed the hydraulic throw-out bearing to the trans and used a straight edge again to measure the distance from the bearing face to the trans to bellhousing surface, which gave me 1 3/8". According to my measurements, subtract the two, I have 1/8" clearance between my throw-out bearing and clutch fingers which is right in specs.

4dphoto.jpg


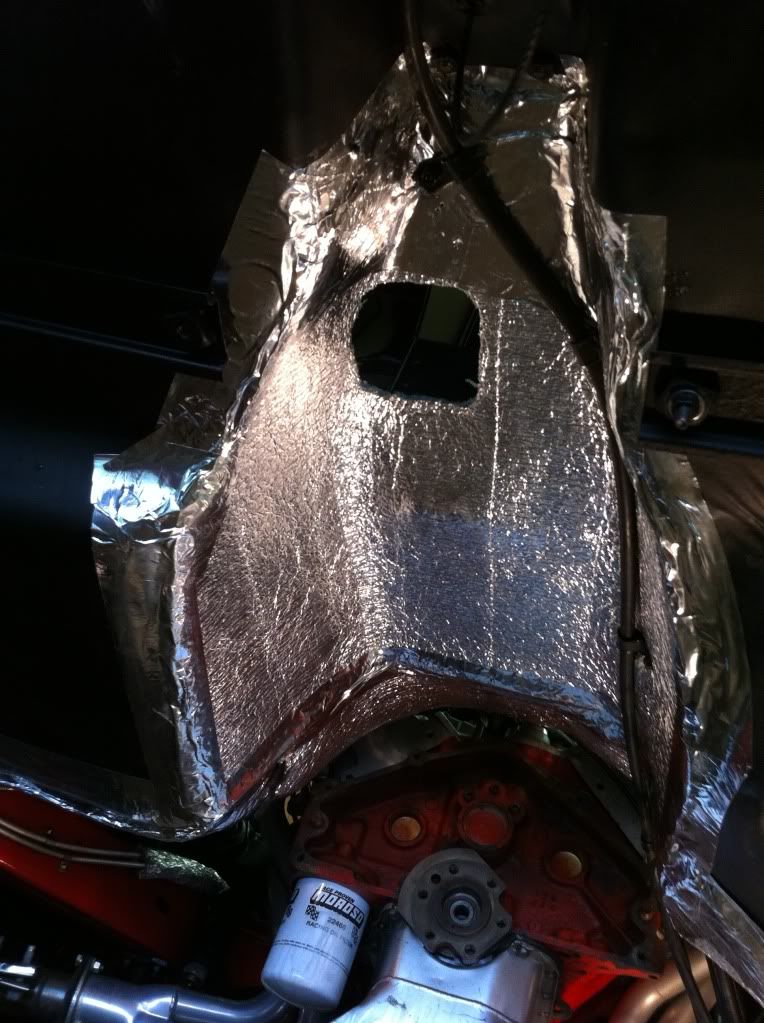
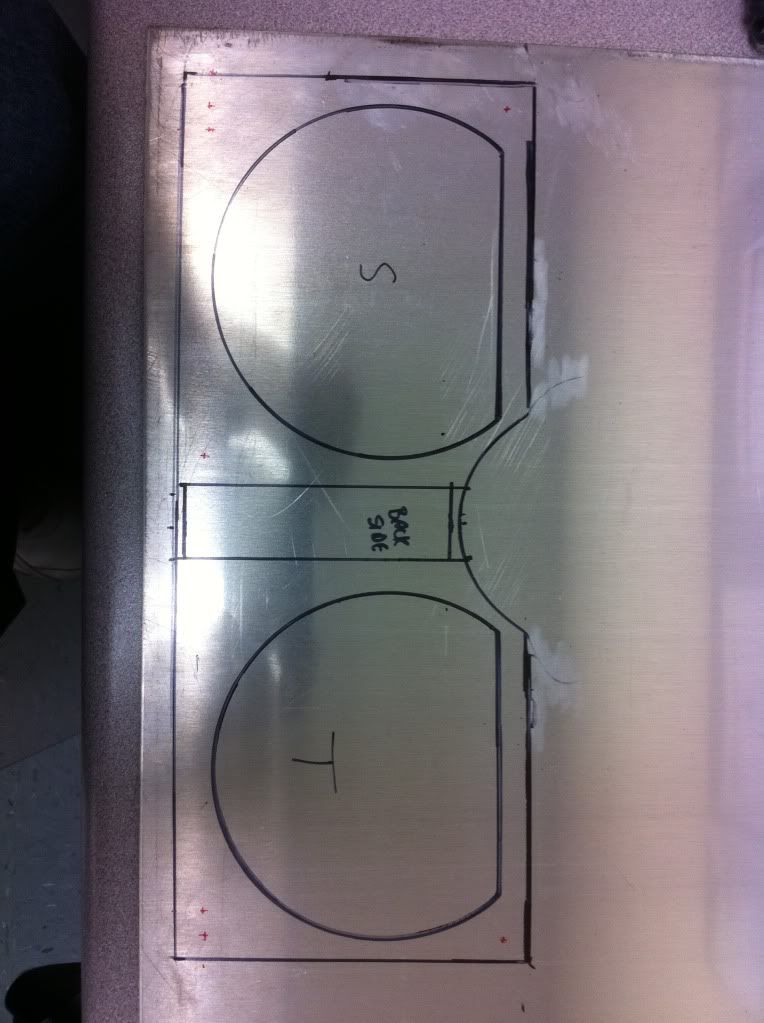
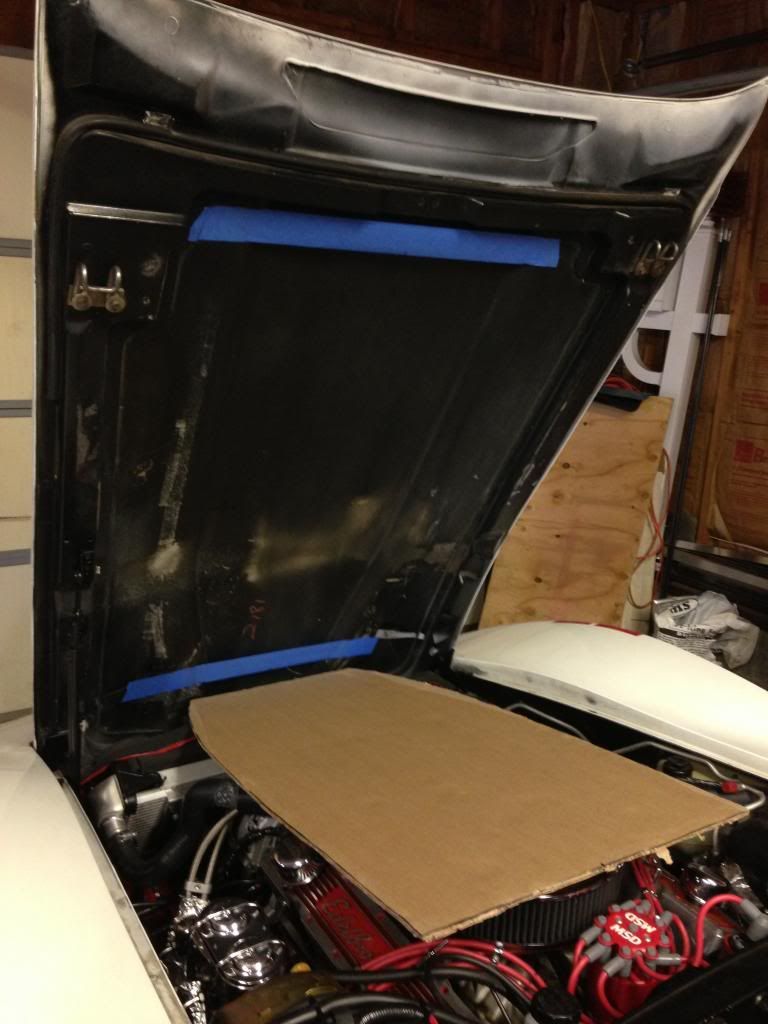
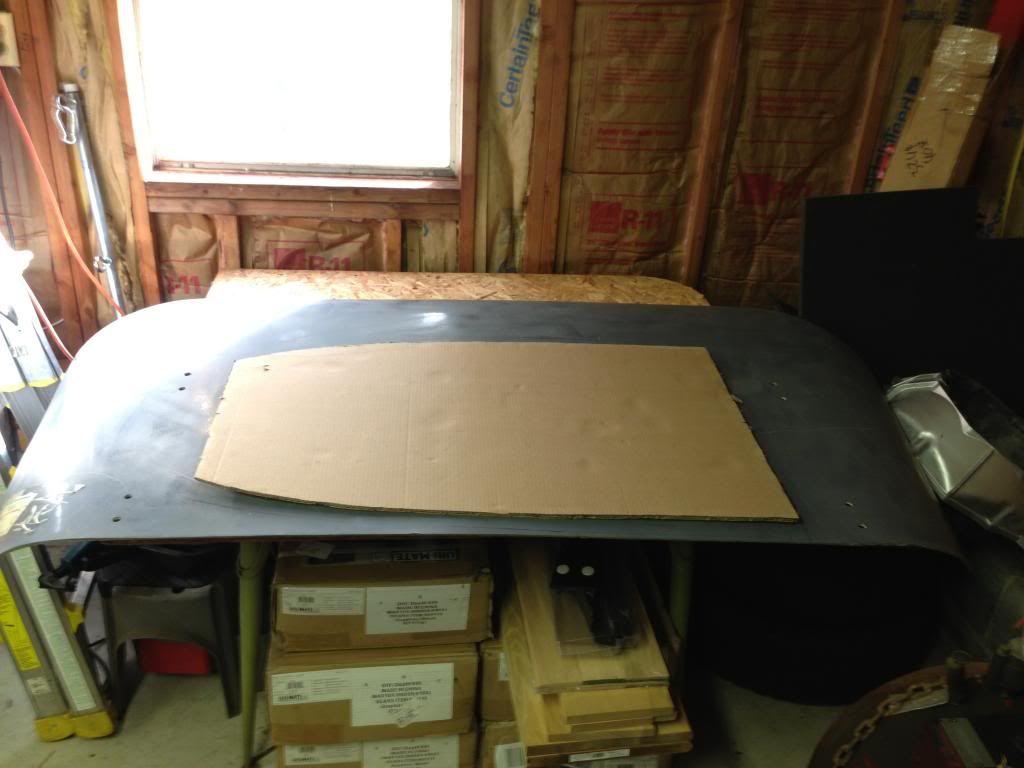
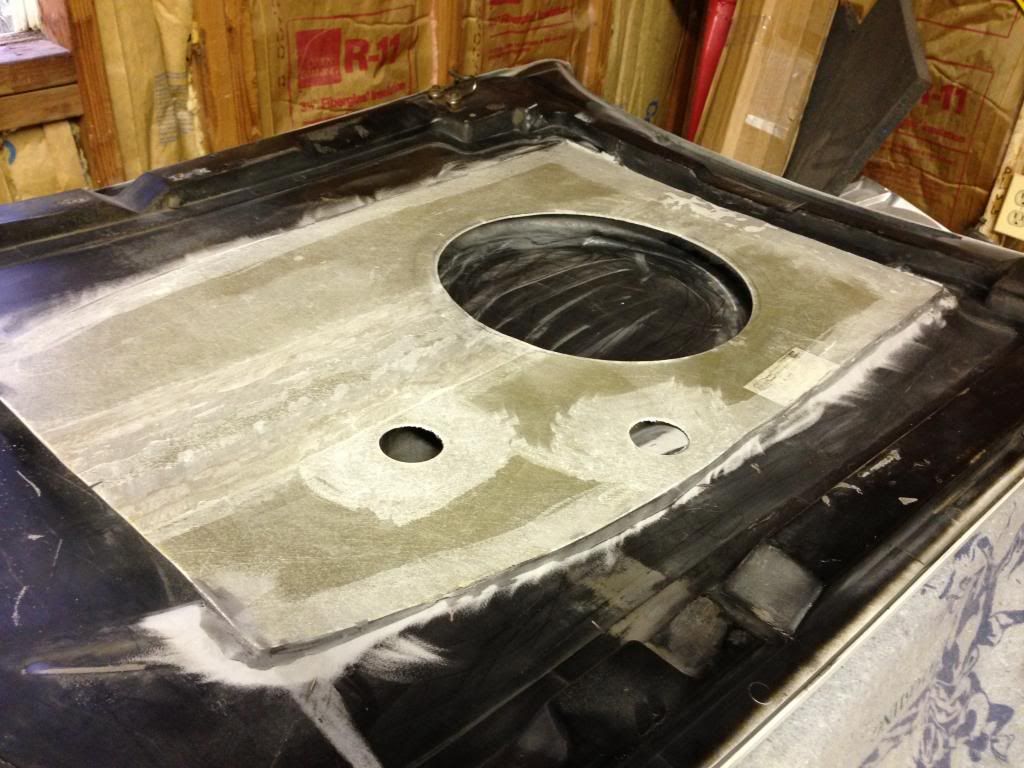
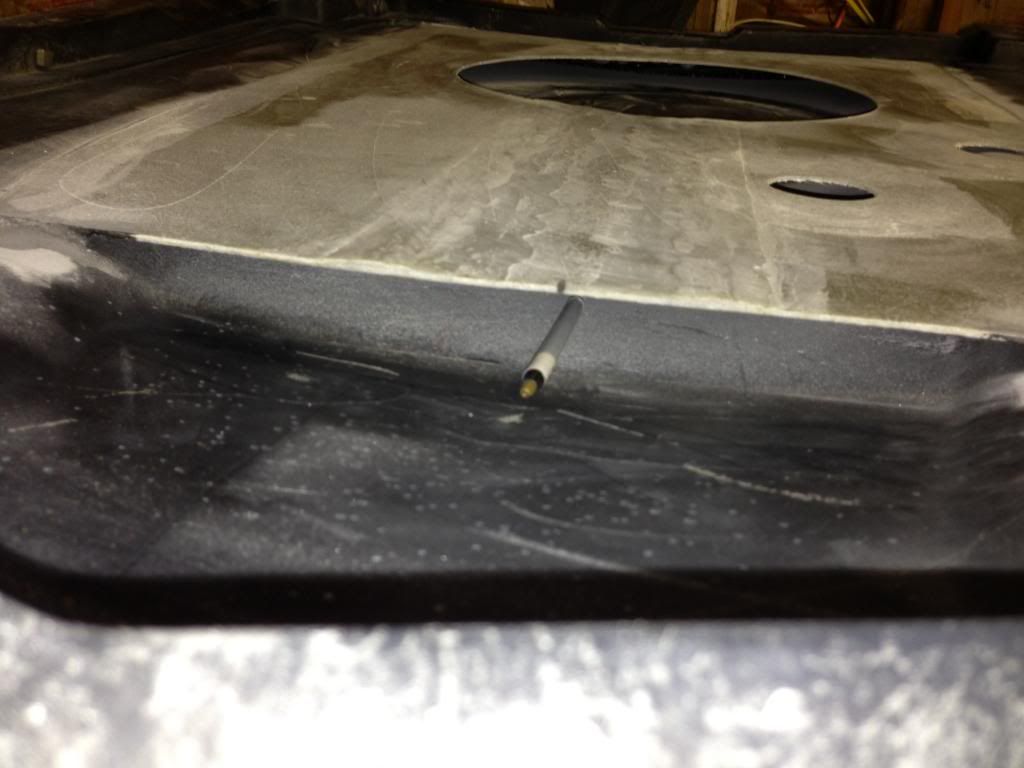
I insulated the tunnel to cut down on heat.

Tunnel.jpg


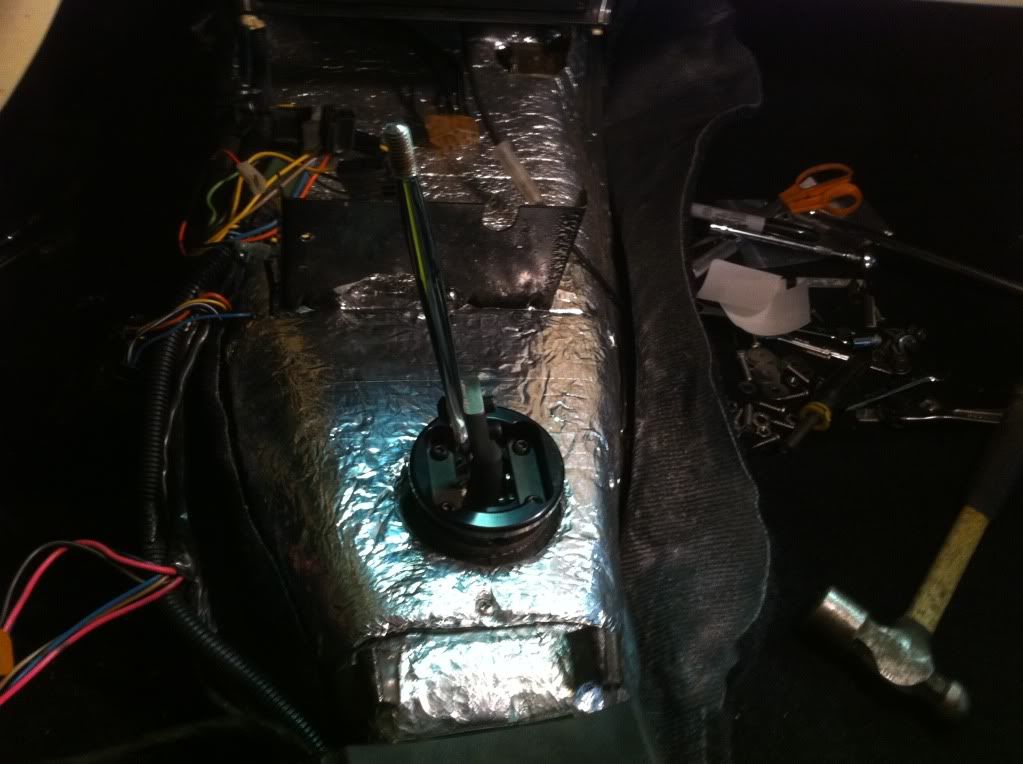
I relocated the battery cable so it is out of the way of the new shifter location and trimmed the tunnel up.

TunnelShifter.jpg


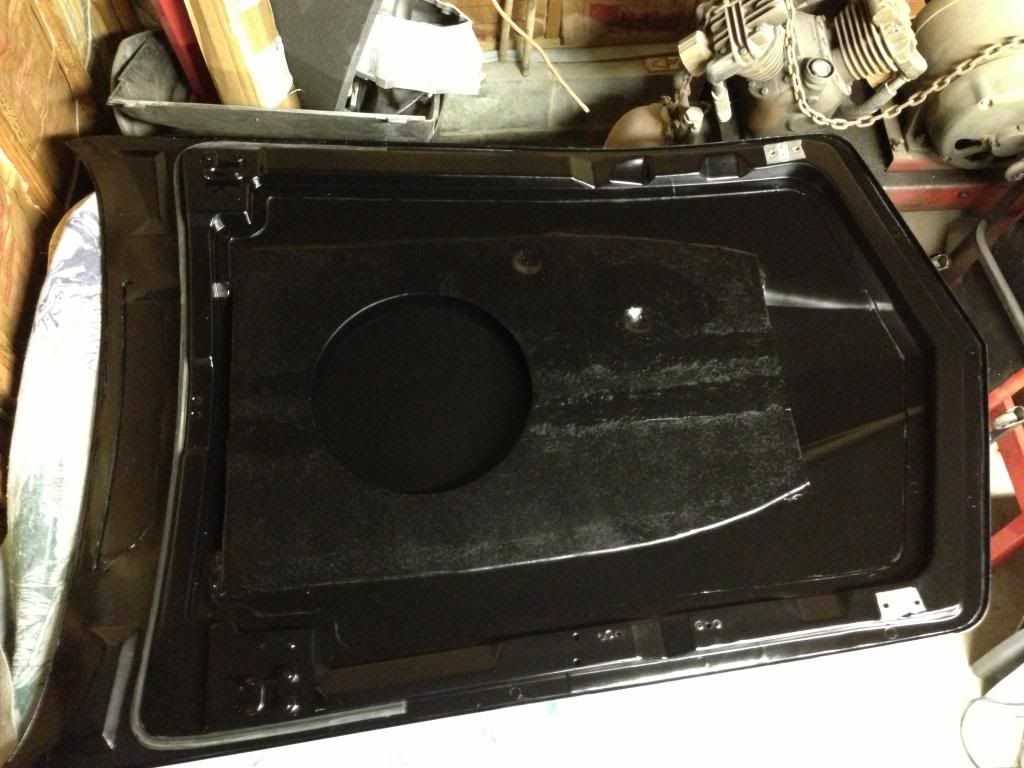
I made a removable cover for the tunnel with a neoprene seal on one side and insulation on the other.

cover2.jpg


cover1.jpg


Bought a driveshaft from an 82' vette, has the correct yoke that I need and had it shortened 1", installed solid Spicer U-Joints, and balanced. Now 24" from center u-joint to center u-joint.

DriveshaftSB.jpg


I needed an angle adapter for the firewall to clutch master. I received this generous donation from Keisler.

Clutchadapter.jpg


I used a rod end and bolt coupler for the clutch pedal connection.

mcphoto.jpg


Installed the clutch master with remote reservoir.

msc1.jpg


MSC3.jpg


msc2.jpg


Bolted up the trans.

TransTunnel.jpg


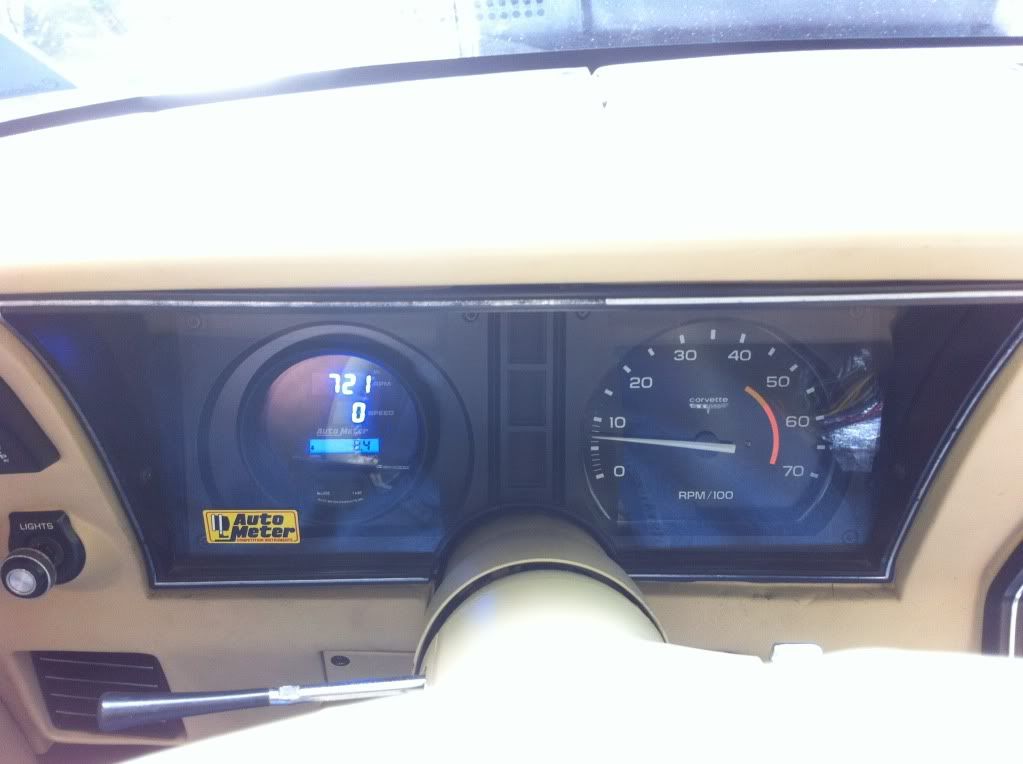
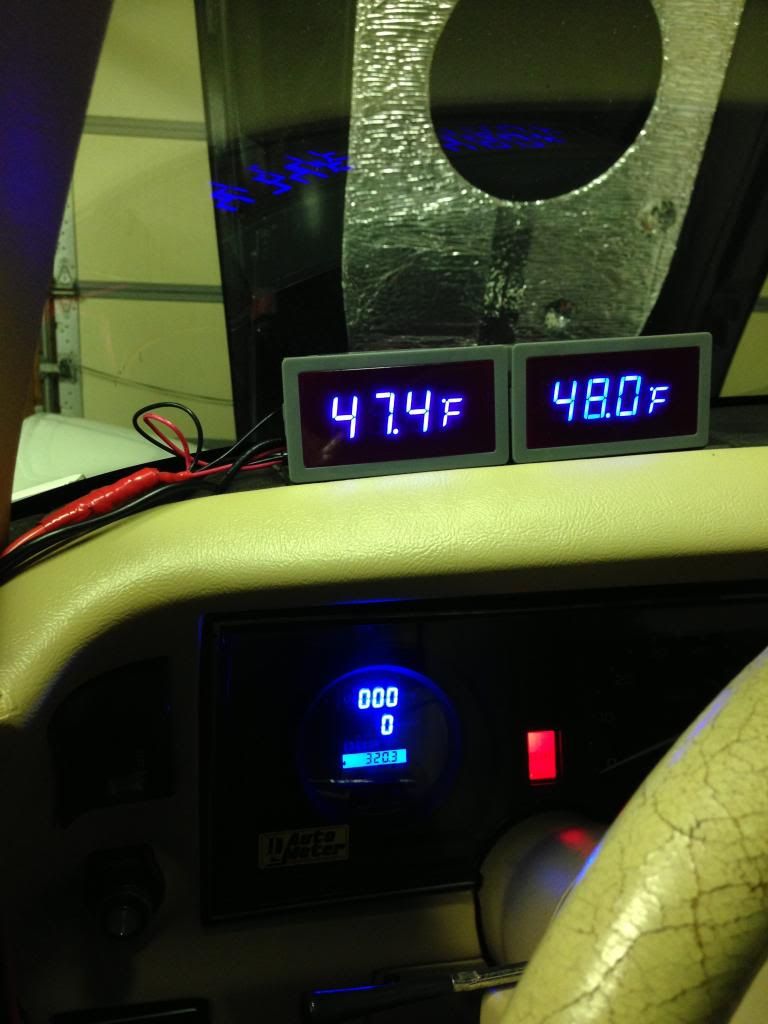
Since the new trans uses an electronic speedometer, I made a filler plate and installed this 3 3/8" Autometer Digital Speedometer/ Tachommeter Combo.

Dash1.jpg


Dash2.jpg


Also, I picked up all the electrical plugs I needed for the trans speedometer, reverse lockout, and backup lights from ebay.

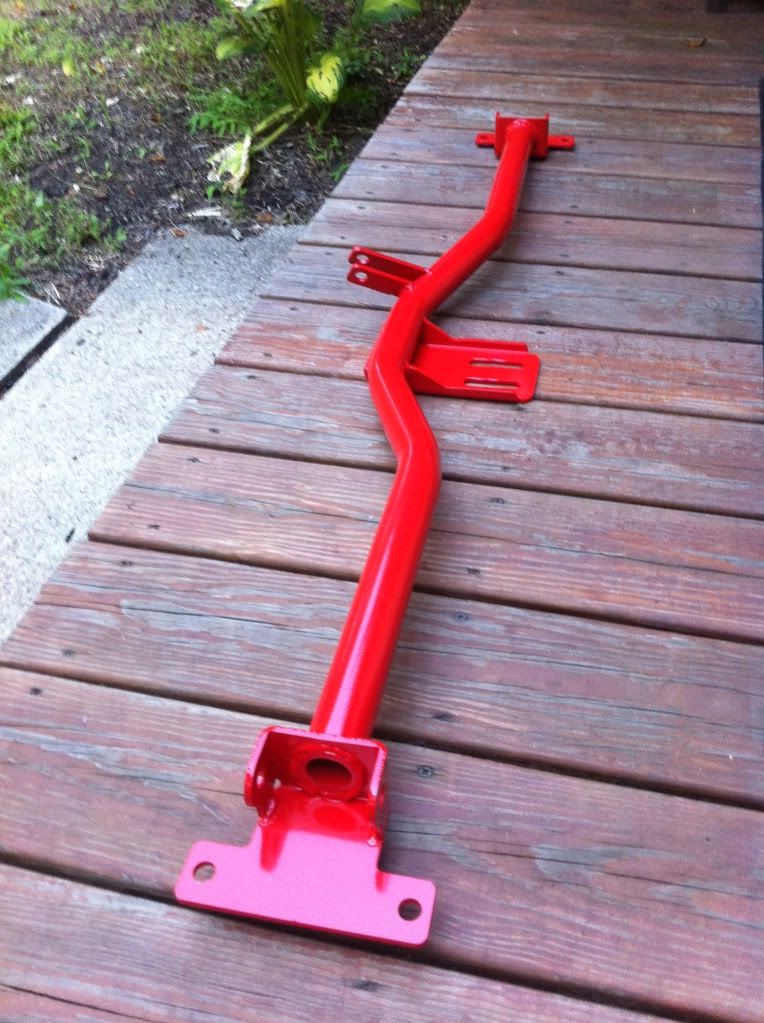
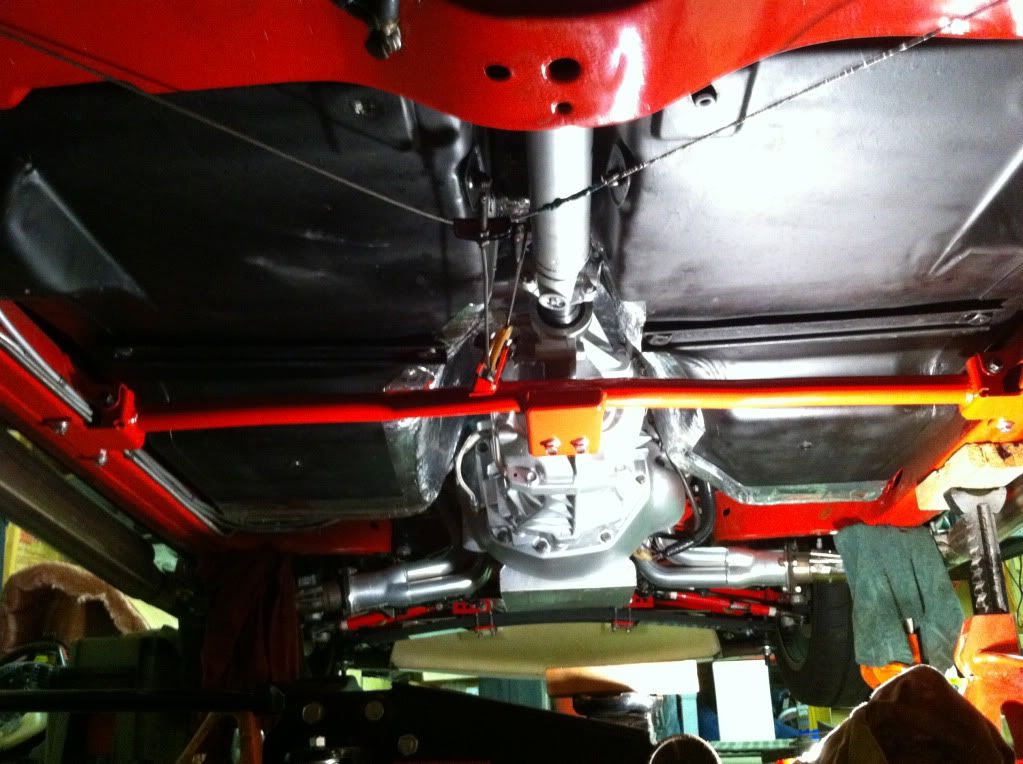
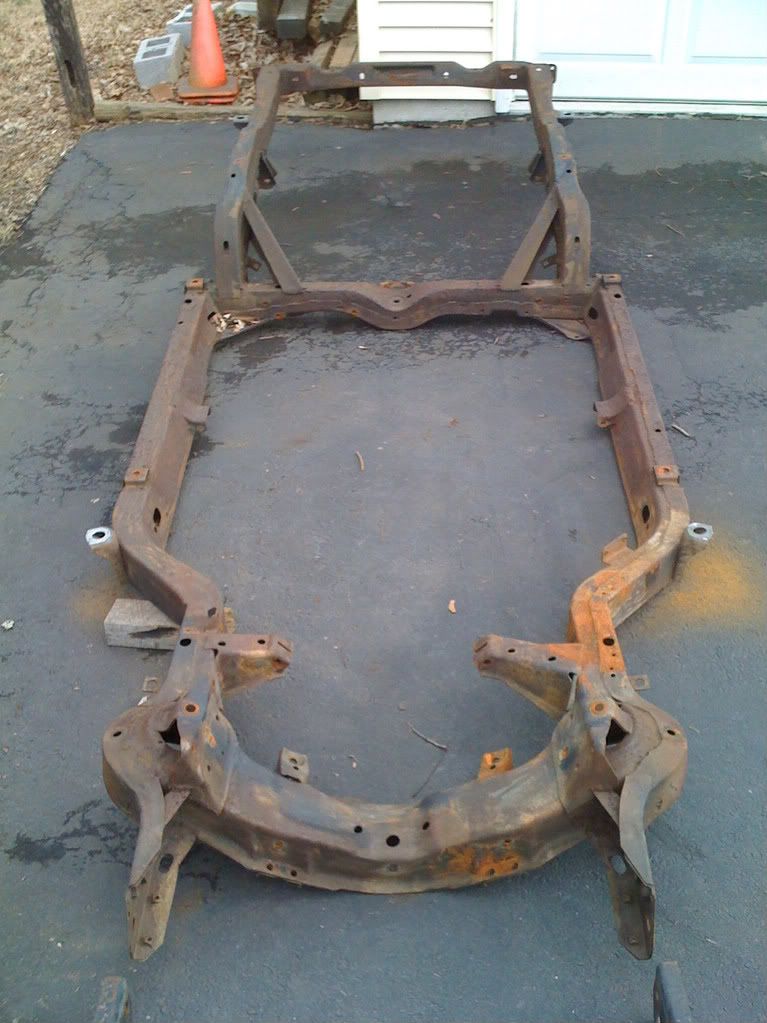
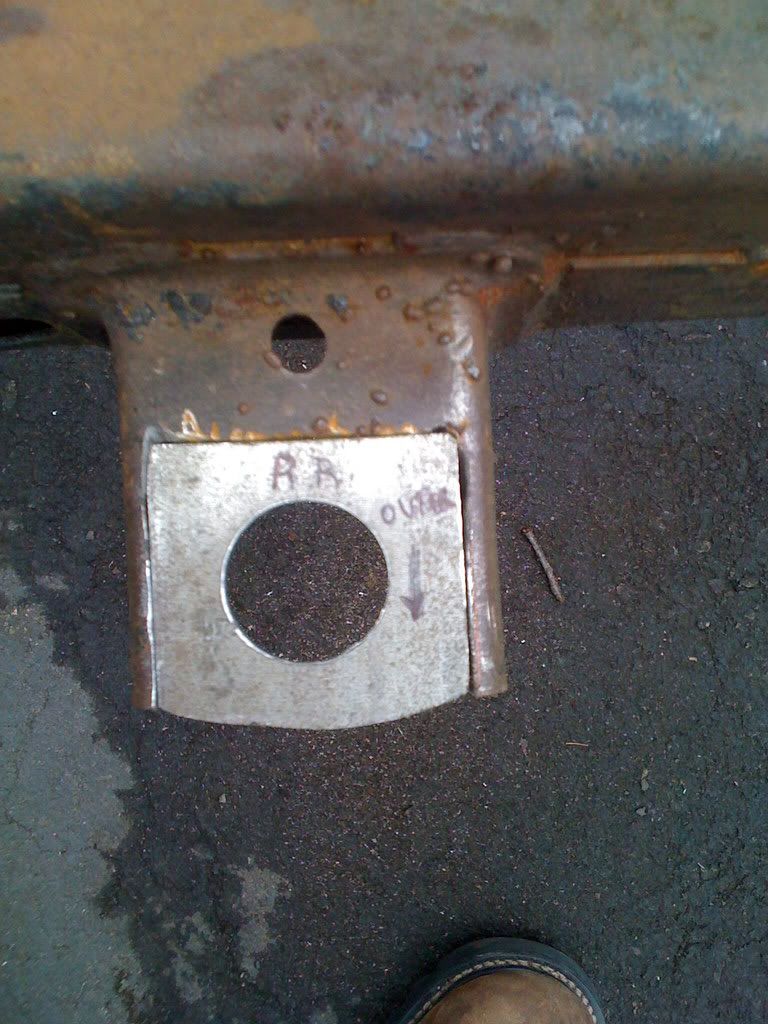
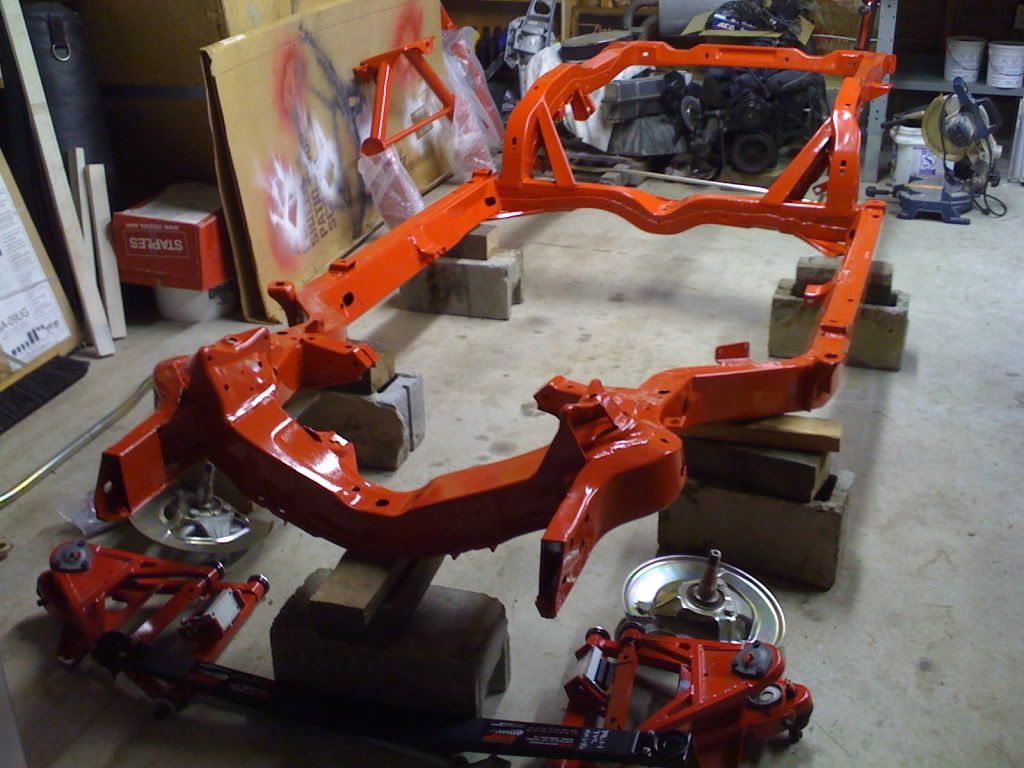
Here's a pic of the replacement BowTie Overdrives crossmember powdercoated Flame Red, the same color as my chassis.

Crossmemberred.jpg


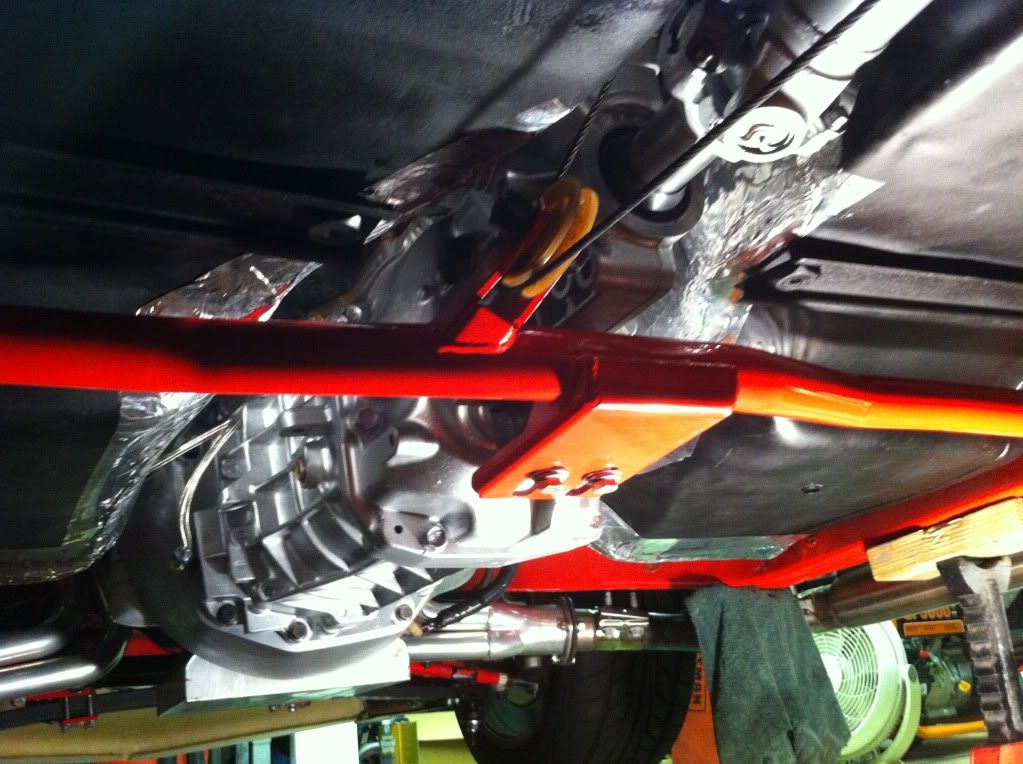
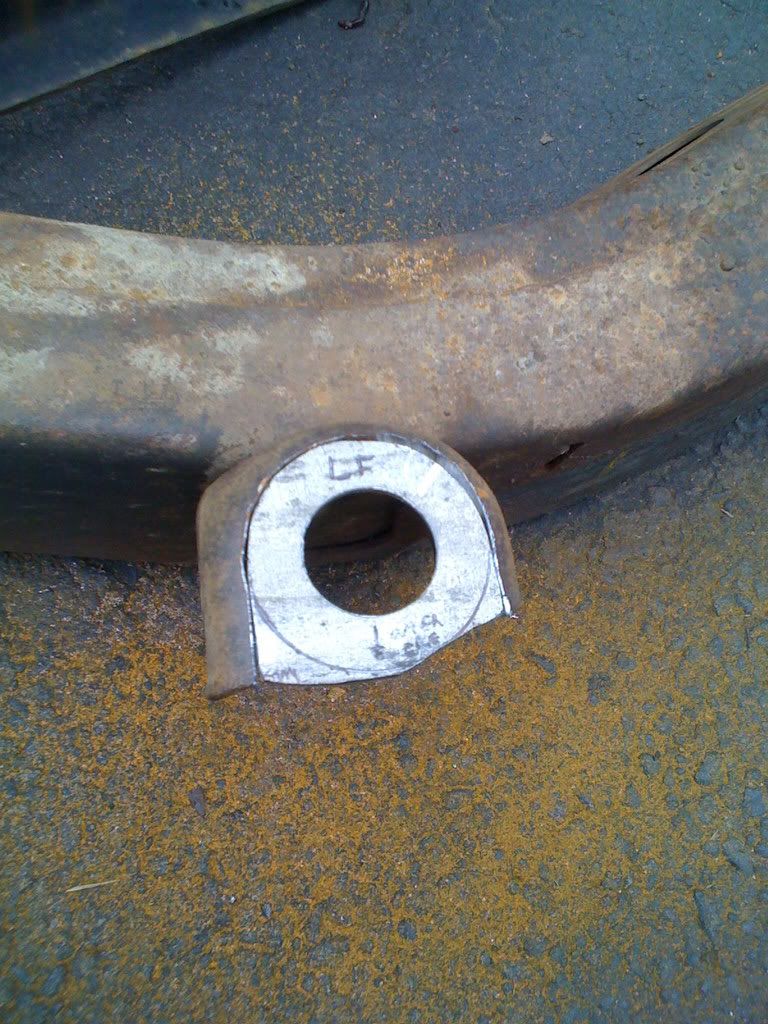
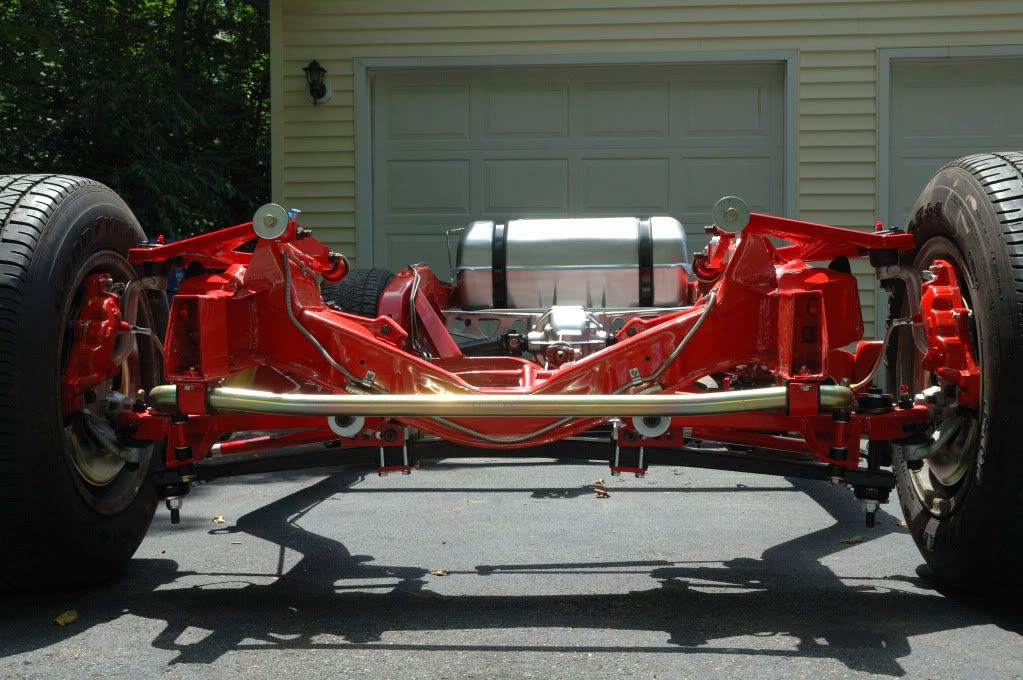
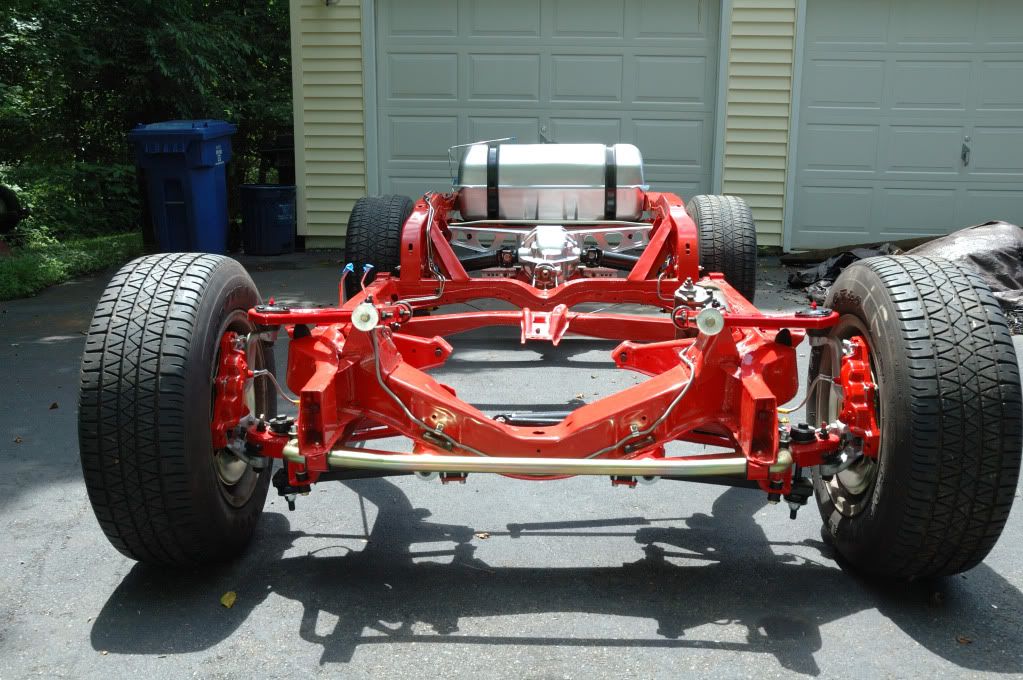
Here's a couple pics of the undercarriage.

uc3.jpg


uc4.jpg


uc1.jpg


I had to shorten the emergency brake cable because the new crossmember positioned the cable pulley back further which added to much slack for adjustment.

Here is how to wire up the transmission sensors:

With OEM GM connectors;

Reverse Lockout
Pink - +12V (wired to power on with the brake lights at the brake pedal switch)
Green - Ground

Backup Lights (connected to the stock wiring to my 4 speed)
Green to Ignition +12V (stock blue wire)
Brown to Backup Lights (stock green wire)

VSS
Purple - Speedometer Signal
Green/Black - Ground

I took my truck out and marked off 2 miles from my house to calibrate the new speedometer in the vette. I took out the vette, calibrated the speedometer, and headed for the highway. The biggest things that I noticed the most was how much smoother shifting was. Definitely much better! Also with the stock trans in 4th gear at 60 mph my vette was at a very loud 3100 rpm. Now in 6th gear at 60 mph my vette is at a mellow 1550 rpm! This is just so much better than before.

A pic of the Autometer Digital Speedometer/ Tachometer installed.

dg1JPG.jpg


Modified the shifter so it comes up through the stock console position. Here's a few pics.

sh1.jpg


sh2.jpg


sh3.jpg


A pic with the finishing touch of the shift pattern plate installed. My 6 speed swap is officially complete!

shftr1.jpg


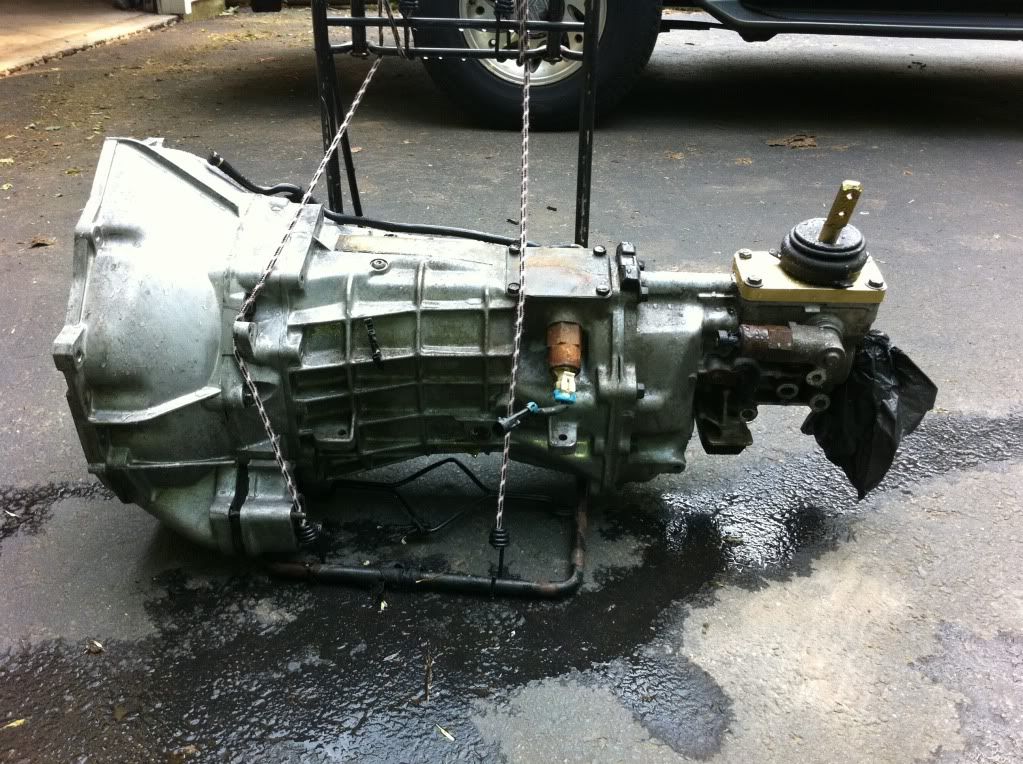
Here's some before and after pics of when I cleaned up the trans.

Before:
photoa.jpg


photob.jpg


After:
trans1.jpg


Trans2.jpg


Also, here's a couple pics of the stock T56 bellhousing (left side) next to the upgraded bellhousing (right side) that I installed.

bh2.jpg


bh1.jpg

 
The stock 69' vette sidepipes were choking the engine. The Hedman headers had 1 5/8" primaries going into 3" collectors, down into a 2 1/4" connecting pipe, and through a 2" baffle. I found a buyer for my old exhaust system and moved up to a Hooker Stainless steel sidepipe system. The primaries are 1 7/8" into 4" collectors, with 4" sidetube, and 2 1/2" Hooker Max Flow baffles. These are the best sounding, high performance baffles that produce a deep low tone. No more restriction on the exhaust.

Here's a few pictures.


2.5" Muffler/ Baffle


Here's a video I took. Sorry, I had the camera on the wrong settings, so it came out jumpy and slowed. But the sound is real good! Camera mounted inside with the windows up.

https://www.youtube.com/watch?v=XKaNKhs59NQ


Thanks!

Yeah, it's a blast to drive. I had an older guy in a SL Mercedes vert, not sure the exact model, nose kinda slanted forward, anyhow he tried taking me. I gave him about 2 car lengths start when I was going easy in second gear before I hit. By the end of second I was next to him, and in third I was putting distance on him. I let off before hitting fourth. When he passed me he was giving me 2 thumbs up. lol

Here's a couple more videos I posted in the past.

https://www.youtube.com/watch?v=4SUDndpy8bw

https://www.youtube.com/watch?v=wBJIHEVxDyw
 
I got this idea about building my own cold air induction. Most of the air for cooling comes up through the airdam which is a large opening between the lower front spoiler and the chin of the front bumper, and there is also a couple of vents next to each front parking lamp in the front. The air that doesn't go through the radiator, travels above in between the top of the radiator support and the inside of the hood. So i decided to make an insulated air chamber on the inside of the hood and provide a direct sealed path for the air coming up the air dam, over the rad. support, through the air chamber, and into the air cleaner/ carburetor. Here's how I did it.

I marked off my stock 80' hood and made a cardboard template.

Hood01_zpsc5163f62.jpg


Next I used the template to cut out the piece I need out of a fiberglass panel. The panel is a roof wind deflector from a tractor trail, new/ unused that work was throwing out, so it didn't cost me anything.

Hood2_zps16bbf354.jpg


I removed the hood and prepped it for attaching the fiberglass panel.

Hood4_zps23a937f0.jpg


I used Norton's Speedgrip Adhesive to attach the panel to the hood. I already had the applicator gun, so the adhesive was about $35.

Hood3_zps189c7e3a.jpg


I now have the air chamber done. The front will seal against the radiator support when closed.

Hood5_zps02e34c2b.jpg


Hood6_zps8604c7cc.jpg


Next I modified my air cleaner base to create a pan that will seal my existing air cleaner assembly to the new cold air chamber.

This was my existing air cleaner assembly. The plan is to seal around it so it can still draw air in from the sides and also the XStream Air Flow Top.

engine3.jpg


I ran into some clearance issues with the hood and had to take a hole saw and drill a couple areas to clear the ac line from the compressor, and serpentine tensioner. Also the upper rad hose hits, but I don't think its too bad since I have it rapped with a plastic shielding. 

HoodA_zps721bf349.jpg


Here's some pics of the air cleaner that I came up with to seal to the hood.

cp6_zps9103a3fe.jpg


cp7_zps6a74b25e.jpg


cp9_zps9bbb64d4.jpg


cp5_zpsefc0fa41.jpg


There is a 16 gauge aluminum "cake pan" 16" x 3" deep, that is cut in the center and the air cleaner base is attached/ sealed to. The sides of the pan are cut/ tapered front to back for hood clearance as that is the way the hood is angled when closed. The foam is Moroso flame resistant hood seal foam designed to seal the air cleaner to the hood and is 1.5" x 4". The foam seal is cut and fit over the side walls of the pan except for the top that seals against the hood. Cost was $20 for the cake pan and $20 for the Moroso foam seal. I used my existing base plate and K&N air filter, so $40 total.

p1_zps2a45a28f.jpg


p3_zpsb88a4a49.jpg


Cut the opening for the air cleaner.

Hood7_zps1ca833d7.jpg


Hood8_zpsb672fc85.jpg


Here's a picture of the opening. I placed a pen in the opening to try to give a reference of the opening size, which I think should be large enough for good airflow.

Hood10_zpsb67fa46a.jpg


I did 3 layers of glass mat to seal the clearance holes, a little sanding, satin black paint, and put the hood back on.

HG1_zpsc7c980dd.jpg


Here's a few picks of the hood.

Hood11_zpsa65760fc.jpg


Hood12_zpsac5ac26c.jpg


Hood16_zps1cfeebb3.jpg


Got it together and went out for a quick test drive. It sure didn't feel like it was choking for air. I pulled out of a side street easy up to about 20-25 then nailed the throttle and the vette broke the tires loose, kicked out a bit and then took off like a bat out of hell up to 85-90 then I let off.

HC2_zps82086311.jpg


HC1_zpsabc26176.jpg


I added some thermal insulation under the hood to help keep engine heat out of the air chamber.

Hood18_zps721a9a77.jpg


Hood19_zpsb2df7b1f.jpg


I bought thermometers to get some results with video.

Thermometer_zpsf4db77e4.jpg


Here's a picture of the temperature sensors for the engine bay and inside the air chamber near the filter top.

Testsetup2_zpsff740a55.jpg


Here's a picture of the thermometers just above my Autometer digital speedometer/ tachometer combo. The thermometer on the left measures engine bay temp and the one on the right measures the air temp going into the air cleaner.

Testsetup1_zps62290577.jpg


I took the vette out for a cruise and got some video with my GoPro. It's a little long but you can see the air coming into the engine stays very cool! The outside air temp was mid to upper 50's during the cruise. The temp display on the left is for the engine bay, and the temp display on the right is for the air going into the air cleaner. When I started the video, I had already driven it a couple miles, parked it for about 10 minutes and the temperature in the air chamber only went up about 10 degrees to 66 degrees, while the engine bay temp rose to 144 degrees. The whole time it stayed 55-57 degrees coming into the air cleaner.

http://youtu.be/MeoMFocEvm8

One thing I noticed in my video was every time I got on the throttle, the temperature in the engine bay increased and the temperature in the cold air intake decreased immediately. So, before my mod, whenever I got on it my engine would take in increasingly hotter air into the intake.

Since completing this modification, I added an aluminum 1" spacer between the carb and intake to increase the velocity of the air fuel mix, trim the pan a little, and still need to add a new seal to it. I'll take care of it before the warm weather.
 
Back
Top