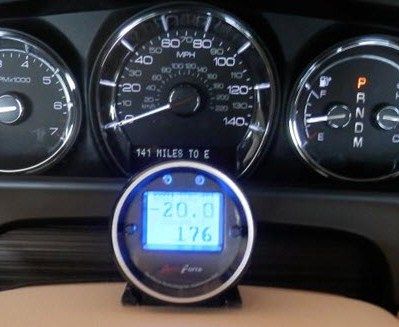
Aeroforce Gauges for your Ecoboost vehicle

i found on the net someone had put his gauges in a spot that i hadn't thought of. pic i got isn't to good but shows location. not the best location but would eliminate an A pillar build.
mike v
ps: guy said you had to have a sunroof to use it but think almost all sho's have sunroof.
what do you think. i want an oil pressure gauge & maybe a aeroforce.
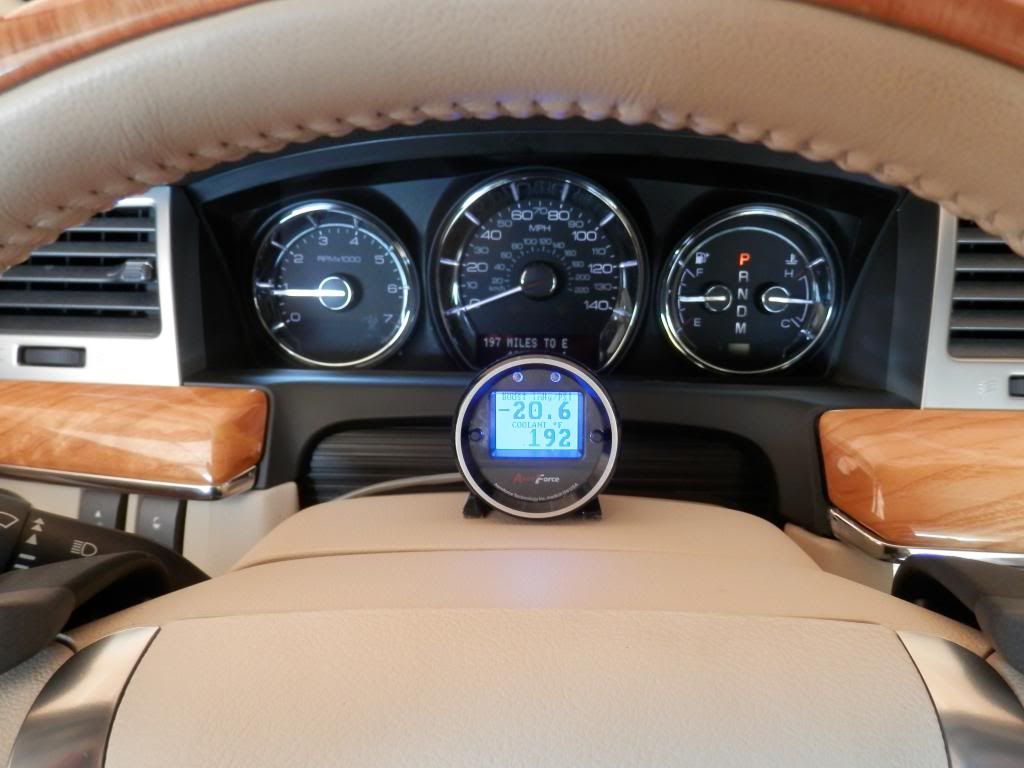
 
The "jumper" is the small black piece located on the back of the gauge right beside where you plug in the OBD cable. You smply pull it straight out. It disables the power feed from the OBD plug and is neccesary to remove in order to supply 12V power.

Brucelinc said:
TSS said:
Okay, new duh question:  I removed the "jumper" on the back of mine (because I thought it was a mounting bracket and I did not need it). And I wanted the gauge to be as light and compact as possible.  Duh.  Anyway I have only ONE gauge and it is functioning as it should.  Any reason for me to add the Jumper/bracket back at this point? "

Todd, what are you calling a jumper/bracket?  The U shaped thing that goes over the 2 studs on the back is only for mounting purposes unless I am crazy.  You shouldn't need that for your installation - I hope.  I don't plan on using it.  I made a mounting bracket out of aluminum angle.
 
mval said:
i found on the net someone had put his gauges in a spot that i hadn't thought of. pic i got isn't to good but shows location. not the best location but would eliminate an A pillar build.
mike v
ps: guy said you had to have a sunroof to use it but think almost all sho's have sunroof.
what do you think. i want an oil pressure gauge & maybe a aeroforce.
I would use that location for aux gauges to fill out a cockpit, but not for primary use.  Does look good tho.
 
Thank you guys. It really was a dumb question. Yes I was talking about the mounting bracket. That's what I thought it was. But then when I heard jumper, I got worried. As for that mounting location, I'm in my car and just checked and it would work in the MKS. good amount of space back there And I opened the sunroof, you can get your hand in very easily However, I really would not want my boost gauge there. It does look neat and tidy and it would fit, but, again, it is too much center stage for me.
 
That sunroof location seems like it would require you to take your eyes off the road to read the gauges.  Pillar pods, dash mounts or mounting near the existing instrument cluster would seem more user friendly to me because they are closer to the proper field of vision for driving.   
 
I liked TSS's mounting but I decided to do a column mount instead.  I made a bracket out of 1.5" aluminum angle.  I drilled holes for the wire and so I could mount the gauge to the bracket using the studs on the gauge.  I wanted the gauge centered and a bit closer than on the instrument panel.  Ignore the exposed wire in this picture - I fixed that.


Brucelinc said:
TSS said:
Okay, new duh question:  I removed the "jumper" on the back of mine (because I thought it was a mounting bracket and I did not need it). And I wanted the gauge to be as light and compact as possible.  Duh.  Anyway I have only ONE gauge and it is functioning as it should.  Any reason for me to add the Jumper/bracket back at this point? "

Todd, what are you calling a jumper/bracket?  The U shaped thing that goes over the 2 studs on the back is only for mounting purposes unless I am crazy.  You shouldn't need that for your installation - I hope.  I don't plan on using it.  I made a mounting bracket out of aluminum angle.

The bracket and electrical jumper are two different things.  The 2 pin jumper is a small black "Connector" that attached to the two small pins next to the OBD2 connector on the back of the gauge.  The bracket is the silver metal pieced that can be used for mounting the gauge.

Todd
 
I am really enjoying this gauge and am continuing to learn more about how to use some of the features.  I wouldn't say that the manual is the best I have ever seen but with trial and error, I am getting all the information that I could hope for.

Although there is no glare from the sun, I have found that with sunglasses on, I can't see the numbers on the gauge.  I should also say that with sunglasses on, I cannot read the car's message center, either, so that probably says more about my sunglasses or my eyes than it does the gauge.

One puzzling thing for me:  Sometimes, when I start the car, the gauge boots up within a couple of seconds.  Other times, it might take as long as a minute or even more to come alive.  Any idea why the inconsistency?
 
on startup, I have the same exact situation Bruce. Most of the time it comes on almost instantly but sometimes it can take up to 60 seconds. As far as the glare, if your sunglasses are polarized, you can encounter those types of issues.

I have non polarized Ray Bans and never have issues.  Also have polarized Maui Jims, and sometimes have issues with the Tint in my car (its called the rainbow effect) and screens.
 
In regards to the startup time of the gauges:

I was having the same problem when I was trying to power my gauges via the obd port. What I learned from Todd, however, if you hard power it via the red cable to a 12volt source they will start up instantaneous and simultaneously when you turn the ignition. The one thing you do have to make sure of is to re-set up the gauges and DO-NOT select ecoboost when it asks. If you select ecoboost then you will not see a difference in the startup time and sequence. All of the features still worked for me.
 
On a typical installation the gauges are powered by the OBD2 port which has constant battery power.  Thus the gauge must "go to sleep" and "wake up" when the car is turned off/on.  When it gets no response from the car is goes into sleep mode, when it sees data on the bus again it wakes up.  Without getting into too many details this is why the turn on time is not always the same.  Bus traffic can change if the car was recently turned off and back on, plus we have delays to prevent start-ups when miscellaneous security messages are transmitted when car is locked.  It's very complicated actually.  Ayerse07 gave the solution to this if you want immediate startup every time. 

Todd
 
Thanks, Todd, for the explanation.  I am fine with the inconsistent start-up now that I know it is normal.

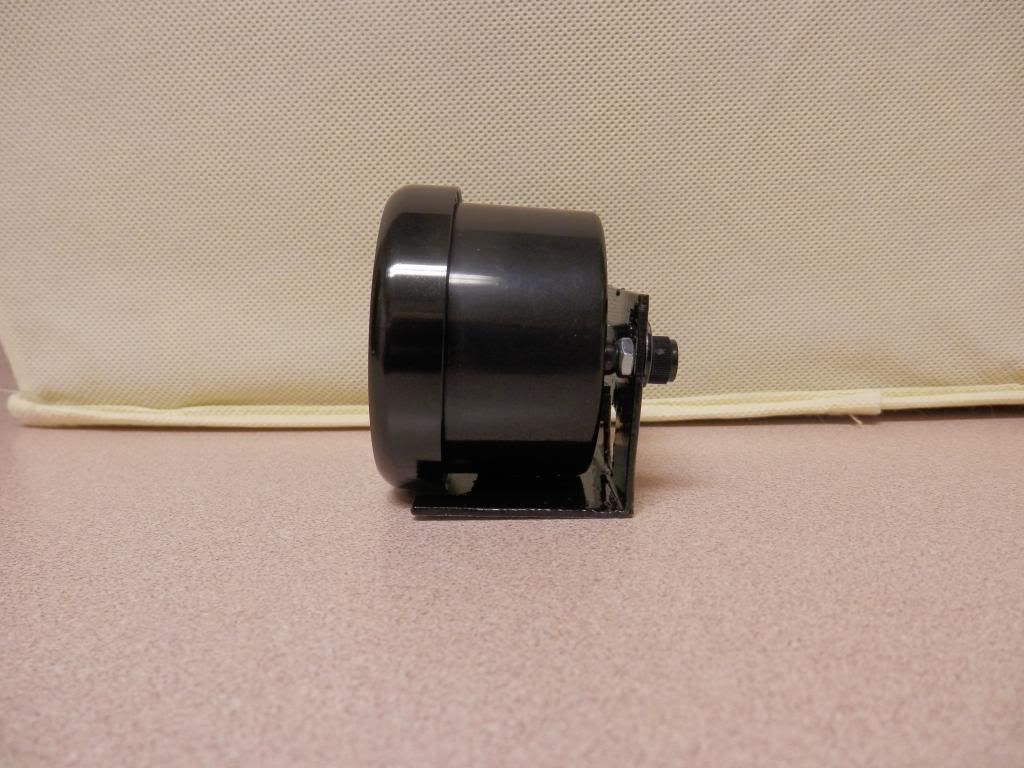
For those who want a column mount that is more solid than the mounting shown in the video, it is pretty easy to make a mounting bracket that is attached with 3M tape.  A piece of 1.5 inch aluminum angle from a building materials store, 1/8 inch thickness works well.  All you need is a hack saw and drill.  A dremel tool is nice to have, too.  You only need 2 inches of the angle.  Drill a 1/2 inch hole in the back for the wire to come through.  The dremel tool is nice to square up the hole a bit.  Also drill two holes for the screws on the back of the gauge to come though.  Spray paint the bracket to match the gauge.  The result is a mount with a 1 1/2 by 2 inch mounting surface.  A couple of pieces of 3M  mounting tape gives you a very solid set-up.

Here is what it looks like prior to installing.  Note that you can easily remove the gauge after installation if you need to just be unscrewing the nuts on the back.


You can mount in the center or offset to one side.  If you choose to offset, you will want to use the dremel tool to slot out the mounting holes so the gauge will be horizontal.  (The column tapers on the sides.)


TSS said:
I predict folks will be asking you to build these for them.

LOL.  No, they will be asking you how the heck you got the cable between the instrument panel lens and the black plastic bezel.  Only YOU could put a 1/4 inch wire through a 1/16 inch space without damaging something.  :)
 
New SHO power up screens:

SHO_splash_sm.jpg


Todd
 
Back
Top