HID headlamp upgrade EVOX-R

I will be using the OEM 9006 connections for the HID, I have 55W Morimoto ballasts now, I will use them the same way as now with a relay harness. The only difference will be the new D2S bulbs. I will use rubber butyl to re seal the headlights. http://www.theretrofitsource.com/accessories/oci-butyl-rubber-glue-48823.html#.Ux1Bbl6ppiU The new paint scheme will be cool. Originally I was going to go all black, but now I am thinking just the gray I will paint to match, as the rest of the headlight is chrome and black already. A friend of mine is looking into doing a custom SHO badge for the housing and replacing the Ford. If he can do it that would definitely make them one of a kind! 

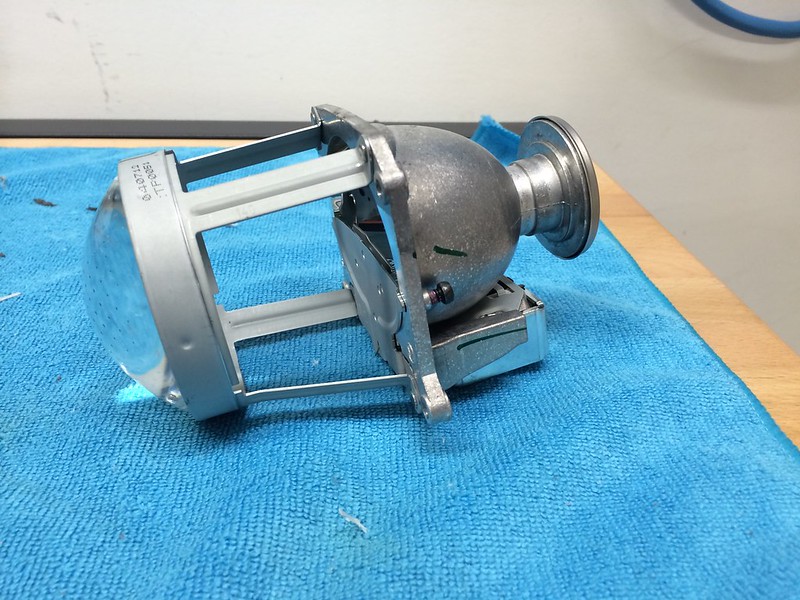
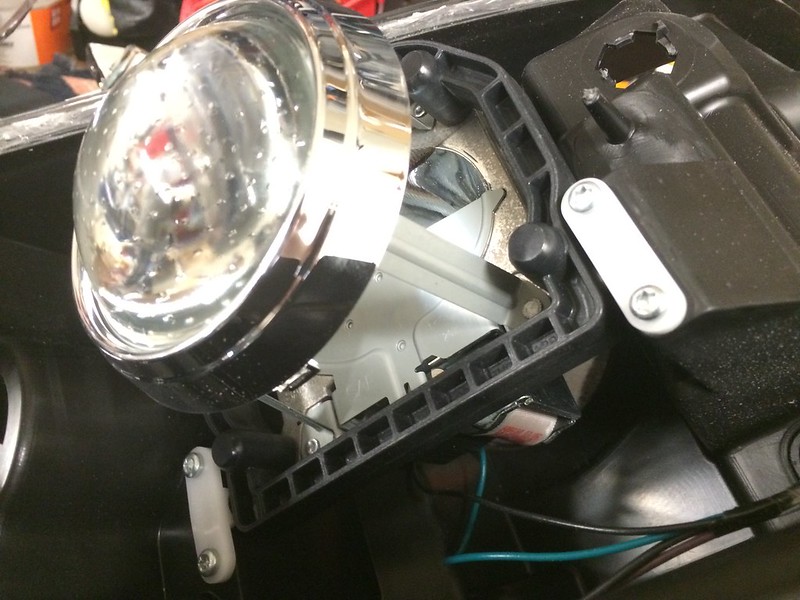
Also, now that I have them apart the lenses are most of the problem with our projectors, they are ridiculously cloudy and they have a slight color shift to yellow. Weird, I guess they are very cheap material.

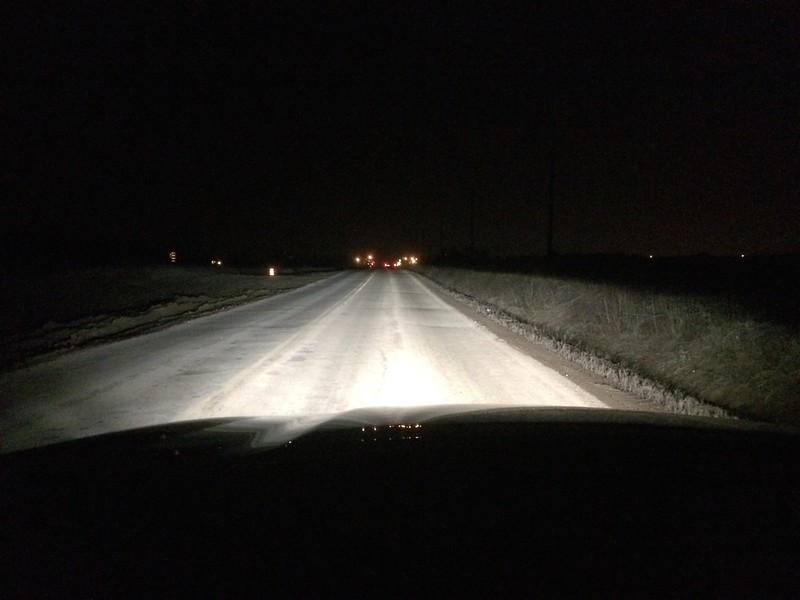
HID 4 by sho.boat, on Flickr

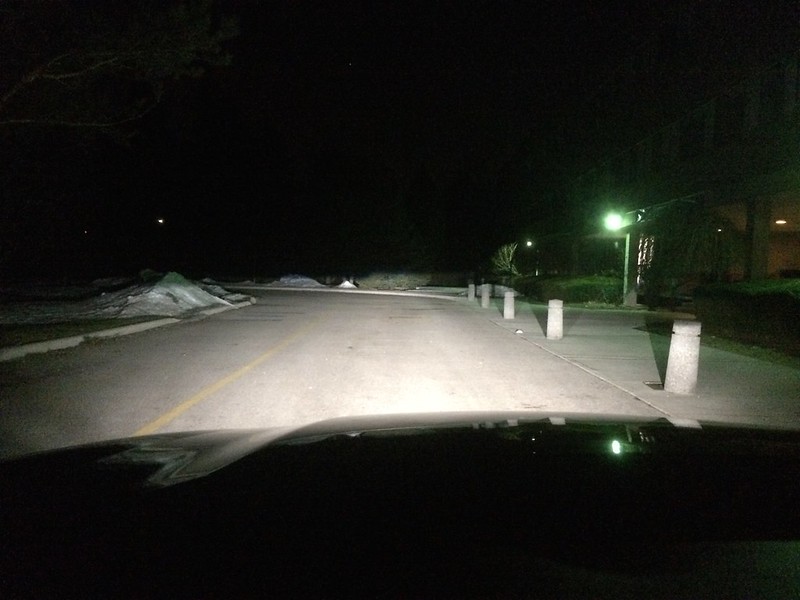
HID by sho.boat, on Flickr
 
I'll,be watching... good start.... take pics and keep track of what you do so you can post a "how to" please.
:beer2:
 
So an update! I got my kit from UPS today and more fun lol. One of the projectors was DOA, I called The retrofit source and they promptly shipped me a new one but I was not impressed to say the least. The assemblies are painted and I am now fabricating some adapter plates to mount the new projectors, but they fit nicely without to much modification. Check out the pics for the messed up projector bowl and the dry fit for the new projectors.
 
The dry fit looks good!  Noticing a bit of an uptick in issues with TRS products, hope they are working on correction.
 
Fitting complete, wow what a PITA. I had to shave the brackets to reduce the mounting depth by 2mm to ensure a proper gap with the OEM housing. The EVOX-r's are about 2mm shorter.See pics for the final result. I should have them in this weekend and will post final results. Once I get a chance I will post a how to with lots of pics. Excuse all the fingerprints on the housings, they will be cleaned and buffed before sealing the lenses.
 
Great job!  :clap2: Interested in your impressions and pics when you're done. What kind of adhesive/sealer did you use?
 
They look so good not even installed, how awesome are they going to be when in place???  :popcorn: :popcorn: :popcorn:
 
All done! I was surprised at how easy it was to remove the front bumper, and then the headlights. I have posted a few pics for the after results. I will do a full how to over the weekend for those of you that may want to take this on. All I can say is holy crap, night and day difference literally. It's not even close, comparing these to the stock HID's in my 2011 Explorer not even close. If you drive at night this is the mod for you, not to mention that the glass looks so much better then the stock frosted and dimpled lenses.
Please exceuse the crappy IPhone pics, but you get the idea.

Edit, these shots are low beam only. I will have a full set of shots this weekend with a decent camera and hi/low beam.

HID (2) by sho.boat, on Flickr

HID (3) by sho.boat, on Flickr
 
Absolutely Stellar!  :thumb: I love the change of the sidemarker and turn to white! Great vision, Great color temp.  Job well done! :dude:
 
Never doubted it, but the the SHO deserved this upgrade.  TIA for the writeup, some cool work for sure.
 
BiGMaC said:
Great job!  :clap2: Interested in your impressions and pics when you're done. What kind of adhesive/sealer did you use?

A combo of Butyl windshield sealant and Silicone.
 
BigPelo said:
Definetly an upgrade! Me want

I have a set of headlight assemblies that I might be selling, that I just took off my SHO. I'm not sure what I am going to do with them. I might do this process and offer for sale. Not sure yet.
 
Back
Top